

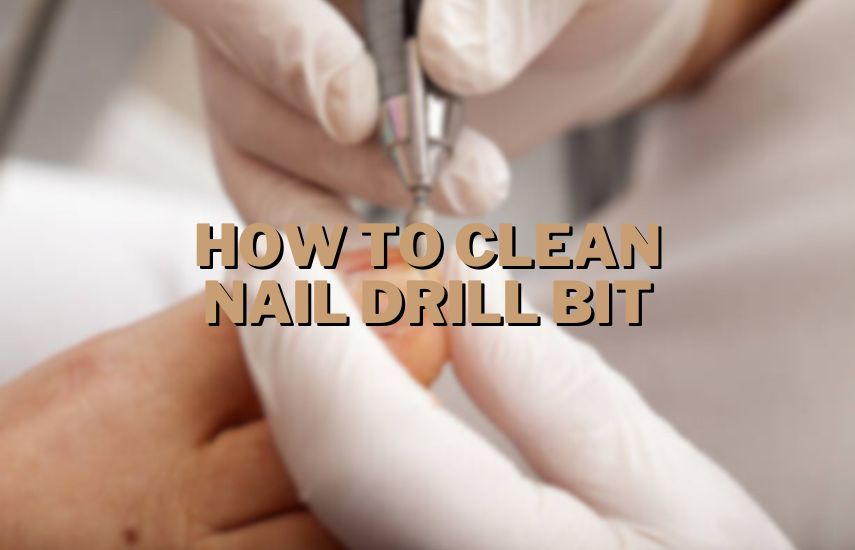
Nail drill bits are essential tools for professional manicurists and nail enthusiasts who love to create intricate nail designs or perform nail enhancements. Over time, these drill bits accumulate dirt, debris, and product residue, compromising their performance and longevity. Regularly cleaning your nail drill bits is crucial to maintain efficiency and ensure hygienic nail services.
How To Clean Nail Drill Bit? To clean a nail drill bit, rinse it under warm water, soak it in rubbing alcohol or antiseptic solution, scrub it with a soft brush, rinse again, and let it air dry.
This blog will walk you through the step by step process of cleaning nail drill bits effectively.
Gather The Necessary Materials
To clean a nail drill bit thoroughly, gather the following materials.
Warm Water
Prepare a bowl or sink filled with warm water. The warm water will help loosen and remove initial debris, dust, and nail particles from the drill bit. The temperature should be comfortable enough for you to handle.
Rubbing Alcohol Or Antiseptic Solution
Choose a rubbing alcohol with a concentration of at least 70%. This high concentration effectively disinfects the nail drill bit and eliminates bacteria, viruses, and other germs. Alternatively, you can use an antiseptic solution designed explicitly for cleaning tools. These solutions are readily available at beauty supply stores or online.
Small Container Or Bowl
Find a small container or bowl that is deep and wide enough to hold the nail drill bit. This container will soak the drill bit in the rubbing alcohol or antiseptic solution.
Clean Cloth Or Paper Towels
Prepare a clean cloth or several paper towels to dry the nail drill bit after cleaning. Ensure they are lint-free to prevent any fibers from sticking to the bit.
Remove The Nail Drill Bits From The Drill Machine
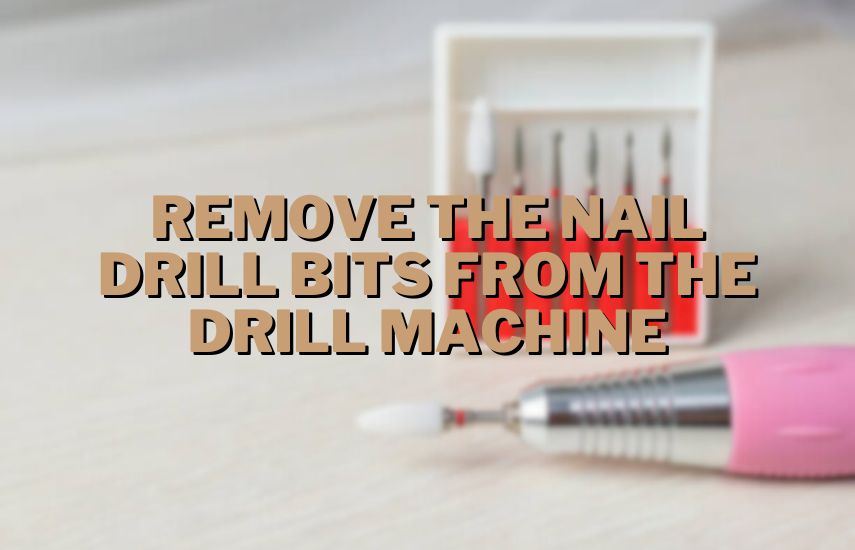
To remove the nail drill bit from the drill machine, follow these detailed steps:
Ensure Safety
Before starting the removal process, ensure your nail drill machine is turned off and unplugged from the power source. This precautionary step will prevent any accidental drill activation while handling the bits.
Identify The Locking Mechanism
Different nail drill machines have various mechanisms for securing the drill bits. Common types include twist-lock, push-button release, or collet-style systems. Identify the specific tool used by your nail drill machine.
Twist-Lock Mechanism
If your machine utilizes a twist-lock system, locate the lock near the base of the handpiece. Twist it counterclockwise to loosen and unlock the bit. Once it is loose, you can safely remove the bit from the handpiece.
Push-Button Release Mechanism
For machines with a push-button release mechanism, look for a button or lever near the handpiece’s top. Press or slide it to release the bit from the handpiece. This will detach the locking mechanism and allow you to remove the bit easily.
Collet-Style Mechanism
For collet-style systems, you may need to use a specialized tool called a collet wrench. Insert the wrench into the provided slots or holes on the handpiece and rotate it counterclockwise. This action will loosen the collet, allowing you to pull out the bit from the handpiece.
Remove The Nail Drill Bit
Once you have disengaged the locking mechanism, carefully pull the bit straight out of the handpiece. Be gentle to avoid any damage to the bit or handpiece.
Set The Bit Aside
Place the removed nail drill bit on a clean, safe surface, such as a towel or designated tray. This will ensure that the bit stays clean and is correctly found.
Pre-Cleaning
Hold the nail drill bit under running water to remove any loose debris or nail filings. This initial rinse helps to loosen surface dirt and makes the subsequent cleaning more effective.
Prepare A Clean Working Area
Find a suitable space with access to running water, such as a sink or a basin. Clear the area of any other objects to ensure a clean and organized workspace.
Hold The Nail Drill Bit
Grasp the nail drill bit firmly between your thumb and forefinger. Ensure you have a secure grip to prevent dropping or losing control of the bit during rinsing.
Turn On The Water
Adjust the faucet to a moderate flow of warm water. Ensure the water temperature is comfortable.
Rinse Under Running Water
Position the nail drill bit under the stream of water. Direct the water flow onto the bit, allowing it to rinse away any loose debris, nail filings, or dust. Rotate the bit gently as the water runs over it to ensure thorough cleaning of all surfaces.
Inspect The Bit
While rinsing, visually inspect the bit to check if any stubborn debris or residue remains. Pay attention to hard-to-reach areas, such as the grooves or flutes on the bit. Do not worry if you notice any persistent dirt or buildup; the subsequent cleaning steps will address these issues.
Repeat If Necessary
Depending on the condition of the nail drill bit, you may need to repeat the rinsing step to ensure it is adequately cleaned. If you notice significant debris still present, gently brush the bit with a soft brush to help dislodge any stubborn particles while rinsing.
Complete The Rinsing Process
Continue rinsing the nail drill bit under running water until the water runs clear and all visible debris has been removed. This step prepares the bit for the subsequent cleaning by loosening the surface dirt and enabling more effective cleaning.
Soaking The Drill Bits
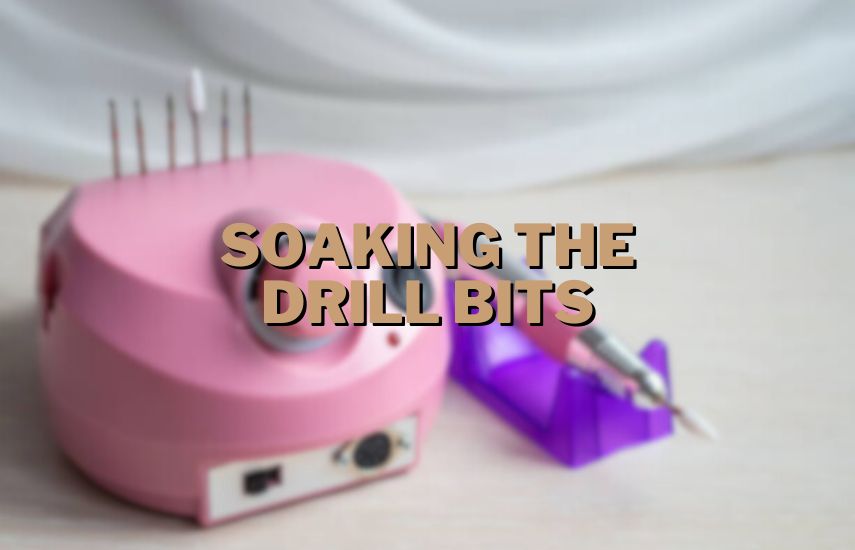
When soaking the nail drill bits, follow these detailed steps to ensure thorough cleaning and disinfection:
Select An Appropriate Container
Choose a glass or container that is large enough to accommodate all the nail drill bits you intend to clean. It should also be deep enough to submerge the bits in the rubbing alcohol or disinfectant fully.
Pour Rubbing Alcohol Or Disinfectant
Fill the glass or container with enough rubbing alcohol or disinfectant solution to cover the nail drill bits completely. Ensure there is sufficient liquid to submerge the bits entirely for effective cleaning.
Choose The Right Solution
Opt for rubbing alcohol with a concentration of at least 70% for efficient disinfection. Alternatively, select a disinfectant specifically designed for cleaning tools. These solutions are readily available at beauty supply stores or online. Ensure the chosen solution is suitable for sanitizing and disinfecting nail drill bits.
Submerge The Nail Drill Bits
Carefully place the nail drill bits into the glass or container, fully submerging them in the rubbing alcohol or disinfectant solution. If needed, gently press them down to release any trapped air bubbles and provide complete coverage.
Soak The Bits For 10-15 Minutes
Allow the nail drill bits to soak the rubbing alcohol or disinfectant solution for 10 to 15 minutes. This soaking period facilitates the dissolution of hardened residue, such as nail product buildup, effectively sanitizes the bits, eliminating bacteria, viruses, and other germs.
Agitate If Necessary
If stubborn residues are on the drill bits, gently agitate the container by swirling it or stirring the solution with a clean implement. This movement helps dislodge any remaining dirt or debris from the bits’ surfaces.
Do Not Exceed Soaking Time
It is essential to stay within the recommended soaking time. Prolonged exposure to rubbing alcohol or disinfectant may cause damage to the nail drill bits, such as corrosion or deterioration of the materials.
Brushing The Drill Bits
Using a soft-bristle brush, gently scrub the surface of each nail drill bit. Pay attention to the grooves and edges where residue tends to accumulate. The meeting will help remove any remaining debris and residue, restoring the bit’s original shine and cleanliness. Avoid using abrasive brushes or harsh scrubbing motions, as they can damage the bit’s surface.
Select A Soft-Bristle Brush
Choose a soft-bristle brush specifically designated for cleaning purposes. An ideal option is a toothbrush with soft bristles or a specialized nail brush. Ensure that the bristles are gentle enough not to scratch or damage the surface of the nail drill bits.
Wet The Brush
Before starting the brushing process, wet the brush bristles under running water. This will help create a slight lather and aid in removing debris and residue.
Hold The Drill Bit Securely
Take one nail drill bit at a time and hold it firmly between your thumb and forefinger. Maintain a steady grip to prevent the bit from slipping or falling during brushing.
Gently Scrub The Surface
With the wet brush, begin gently scrubbing the surface of the nail drill bit. Pay close attention to the grooves, edges, and other areas where residue accumulates. Use light, circular motions to dislodge and remove debris effectively. Avoid excessive force or aggressive scrubbing, as it can scratch or damage the bit’s surface.
Brush All Sides Of The Bit
Ensure you brush all sides of the nail drill bit, including the top, bottom, and sides. Rotate the bit between your fingers as you brush to access all areas and clean them thoroughly.
Focus on stubborn residue.
If stubborn residues or buildup are on the bit, apply gentle pressure with the brush while scrubbing those areas. Be cautious not to use excessive force that could potentially damage the bit. Soak the bit again in rubbing alcohol or disinfectant for a few minutes to further loosen the residue before brushing.
Rinse The Brush And Repeat If Needed
Periodically rinse the brush under running water to remove accumulated debris. You can apply minimuim amount of mild soap or dishwashing liquid to the brush to enhance its cleaning power. Repeat brushing for each nail drill bit until all debris and residue are thoroughly removed.
Inspect The Cleanliness
After brushing, visually inspect each nail drill bit to ensure that all debris and residue have been effectively removed. If any stubborn residue remains, repeat the brushing process or use a specialized bit-cleaning solution for further cleaning.
Rinse And Dry
After scrubbing, rinse the nail drill bits under running water to remove any residue and traces of the disinfectant. Make sure all the cleaning solution is thoroughly washed away. Pat dry the bits using a paper towel or a lint-free cloth. Take care to avoid touching the cutting surfaces directly to prevent injury.
Prepare A Clean Working Area
Ensure you have a clean and organized area to rinse and dry the nail drill bits. This can be a sink or a designated tray lined with a paper towel or clean towels.
Rinse Under Running Water
Hold each nail drill bit under a stream of running water. Rotate the bit between your fingers to ensure that all surfaces come into contact with the water. Rinse each bit thoroughly to remove any remaining residue and traces of the disinfectant solution.
Inspect For Cleanliness
While rinsing, visually inspect each nail drill bit to ensure no visible traces of debris or cleaning solution. Please pay attention to hard-to-reach areas and the cutting surfaces to ensure they are free from any remaining residue.
Shake Off Excess Water
Once rinsed, gently shake each nail drill bit to remove excess water. Be careful not to drop or mishandle the bits during this process.
Pat Dry With A Lint-Free Or Paper Towel Cloth
Take a clean, lint-free cloth or paper towel and carefully pat dry each nail drill bit. Gently press the towel or material against the surface of the bit to absorb moisture. Avoid rubbing or applying excessive force, as it may damage the bit or leave behind fibers.
Avoid Touching Cutting Surfaces Directly
When drying the nail drill bits, avoid direct contact with the cutting surfaces to prevent accidental injury. While drying, hold the bits by their non-cutting parts, such as the shank or body.
Allow Thorough air-drying
After patting dry, place the nail drill bits on a clean and dry surface, such as a towel or a designated tray. Allow the bits to air dry completely before storage or reattaching the drill machine.
Disinfecting
To ensure the complete sterilization of your nail drill bits, wipe them with a cloth soaked in rubbing alcohol or disinfectant. This additional step helps eliminate any remaining bacteria or germs. Allow the drill bits to air dry completely before storing them or reattaching them to the drill machine.
Prepare A Clean Working Area
Preparing a clean working area is essential before you start cleaning and disinfecting your nail drill bits. A clean and organized workspace helps maintain a hygienic environment and ensures an effective cleaning process.
Select Rubbing Alcohol Or Disinfectant
Choose rubbing alcohol with a concentration of at least 70% or a specialized tool disinfectant. These solutions effectively kill bacteria, viruses, and other germs. Ensure the chosen disinfectant is suitable for the materials of your nail drill bits.
Soak A Cloth Disinfectant
Take a clean cloth, preferably lint-free, and soak it in rubbing alcohol or disinfectant. Make sure the cloth is saturated but not dripping excessively.
Wipe Each Drill Bit
Take one nail drill bit at a time and use the soaked cloth to wipe the entire bit surface. Pay attention to the cutting surfaces, grooves, and edges where bacteria and germs may accumulate. Ensure all sides of the bit are thoroughly wiped to ensure complete disinfection.
Apply Gentle Pressure If Needed
If there are stubborn residues or visible contaminants on the drill bits, apply gentle pressure while wiping to aid in their removal. Be cautious not to use excessive force that could potentially damage the bit.
Allow The Drill Bits To Air Dry
After wiping each nail drill bit with the disinfectant-soaked cloth, place them on a clean and dry surface, such as a towel or a designated tray. Allow the bits to air dry completely. This will ensure that any remaining disinfectant evaporates and the bits are ready for storage or reattachment to the drill machine.
Avoid Cross-Contamination
Ensure that the cloth used for wiping the nail drill bits is dedicated solely for this purpose. Do not reuse the cloth for other cleaning tasks to prevent cross-contamination.
Store The Disinfected Drill Bits
Once the nail drill bits are completely dry, store them in a dry container or case specifically designated for tool storage. This will protect the disinfected bits from dust, moisture, and potential contamination.
Storage

Once the nail drill bits are completely dry, store them in a covered container. It is essential to keep the drill bits separate from other tools to prevent contamination. Consider using individual bit cases or a designated organizer to keep them organized and protected.
Ensure Complete Drying
Before storing the nail drill bits, verify that they are completely dry. Any residual moisture can promote the growth of bacteria or cause damage to the bits.
Choose A Clean Container
Select a clean and dry container specifically designated for storing the nail drill bits. This can be a case designed for organizing drill bits or a small container with compartments. Ensure that the container is free from dirt, dust, or other contaminants.
Keep Bits Separate
To prevent contamination and potential damage, store each nail drill bit separately. This helps avoid contact between the bits, reducing the risk of scratching or dulling the cutting surfaces. Individual bit cases or compartments in an organizer are ideal for keeping the bits organized and protected.
Arrange The Bits Properly
Place each nail drill bit in its designated slot or compartment in the storage container. Ensure that the cutting surfaces or delicate parts of the bits are not in contact with any hard surfaces that could cause damage.
Close Or Cover The Container
If the storage container has a lid or cover, securely close it to protect the nail drill bits from dust and debris. This helps maintain their cleanliness and prevents accidental displacement or damage.
Store In A Clean Environment
Find a suitable location to store the container of nail drill bits. Choose an area that is clean, dry, and away from excessive heat or moisture. Avoid storing the bits near chemicals, solvents, or other substances that could potentially harm or contaminate them.
Regularly Inspect And Clean
Periodically check the stored nail drill bits to ensure they remain in good condition and clean. If any debris or residue is found, follow the cleaning process to maintain their cleanliness.
Conclusion (How To Clean Nail Drill Bit)
Regularly cleaning your nail drill bits is crucial for maintaining their performance, extending their lifespan, and ensuring hygienic nail services. Refrain from cleaning your drill bits to avoid accumulating dirt, debris, and product residue, which can compromise their effectiveness and potentially spread bacteria or infections. Following the step-by-step guide above, you can effectively clean and sanitize your drill bits, guaranteeing a safe and enjoyable nail grooming experience. Remember the following key points:
- Frequency of cleaning: Make it a habit to clean your nail drill bits after each use. This practice ensures they remain free from buildup and ready for the next session.
- Regular inspection: Inspect your drill bits for wear or damage. If you notice any chips, cracks, or dullness on the cutting surfaces, it’s time to replace them. Using damaged drill bits can lead to ineffective performance or even cause harm to the nails or skin.
- Proper storage: Store your nail drill bits in a clean and covered container after cleaning and drying them. Avoid storing them with other tools to prevent cross-contamination. Consider using individual bit cases or a designated organizer to keep them organized and protected.
By maintaining a consistent cleaning routine and practicing proper care and storage, your nail drill bits will continue to deliver exceptional results for many nail sessions. Prioritizing the cleanliness and maintenance of your drill bits ensures the longevity of the tools and promotes a safe and hygienic environment for your clients or personal use.


