


Woodworking enthusiasts and DIYers often encounter the frustrating issue of wood splitting when drilling. Drilling is a fundamental task whether crafting furniture, building shelves, or working on any woodworking project.
Why Is My Wood Splitting When Drilling? Wood can split when drilling for various reasons, such as using the wrong drill bit, excessive pressure, or drilling too close to the wood’s edge. Not using a pilot hole can cause the wood to split. Proper equipment, technique, and pilot holes can help prevent splitting during drilling.
In this blog, we will explore the common reasons why wood splits when drilling and provide practical solutions to prevent this issue.
Wood Grain Orientation
The most common reason for wood splitting during drilling is the orientation of the wood grain. Wood is composed of long fibres aligned in a specific direction.
Also, do check: How To Drill Holes For Cable Railing?
Inspect The Wood
Examine the surface of the wood to determine the direction of the wood grain. It usually appears as lines or patterns running parallel to the length of the board.
Choose The Right Drill Bit
Select an appropriate drill bit that matches the hole size you aim to create. For wood-based projects, the twist bit is generally the preferred choice for most common drilling tasks.
Mark The Drilling Spot
Use a pencil or a marking tool to indicate where you want to drill the hole. Double-check the position to ensure accuracy.
Position The Drill Correctly
Hold the drill steady and align it perpendicular to the wood surface if possible. Drilling at a right angle to the grain minimizes the risk of splitting.
Create A Pilot Hole
For larger holes or when drilling close to the edge of the wood, it’s essential to create a pilot hole first. Make the pilot hole, and use a more minor drill bit than the final hole size. The pilot hole guides the more significant drill bit and reduces the chance of the wood splitting.
Clear Chips Regularly
While drilling, lift the drill bit occasionally to clear away wood chips and dust. This prevents clogging and helps the drill bit cut smoothly.
Control The Drill Speed
If your drill has variable speed settings, adjust it to a lower speed when drilling through wood.
Remove The Drill Smoothly
Once the hole is complete, ease off the pressure on the drill and remove it carefully. When drilling, you can minimize the risk of wood splitting and achieve clean, precise holes in your woodworking projects.
Dull Or Incorrect Drill Bits

Using the wrong type of drill bit, such as a high-speed bit for wood, can also contribute to splitting.
Identify The Correct Drill Bit Type
Different drill bits are designed for specific materials. For wood, choose drill bits that are suitable for woodworking. Brad-point and drill bits are excellent options as they have a centre point that helps guide the bit and sharp cutting edges that create clean holes in wood.
Check Drill Bit Size
Ensure the drill bit’s diameter matches the size of the hole you need to create.
Keep Drill Bits Sharp
If you notice any dullness or signs of wear on the drill bit, it’s essential to sharpen it. You can use a drill bit sharpener or a grinding wheel designed explicitly for sharpening drill bits.
Use A Pilot Hole
When drilling large holes or close to the wood’s edge, create a pilot hole with a more minor drill bit. The pilot hole guides the more significant bit and helps prevent splitting.
Replace Dull Bits
If you notice that a drill bit is becoming dull, it’s time to replace it with a new, sharp one. You can ensure cleaner, smoother holes with a reduced risk of wood splitting during drilling.
Too Much Pressure
Applying excessive pressure while drilling can force the drill bit to dig into the wood aggressively, causing the wood to split. This is particularly common when using power drills, as their speed and power can cause more damage if not used carefully.
Also do check: Which Festool Drill Should I Buy?
Secure The Wood
If possible, clamp the wood securely in place before drilling. This prevents the wood from moving or vibrating excessively while drilling, ensuring better control over the process.
Hold The Drill Steady
When operating a power drill, ensure a secure grip with both hands and maintain a stable stance. This practice enhances control over the drill’s movement and prevents it from deviating from the intended target.
Start Slowly
Begin drilling slowly, especially when using more significant drill bits or drilling into harder wood. Starting slowly allows you to establish a stable position and reduces the risk of the drill bit catching or wandering.
Apply Steady, Moderate Pressure
Use consistent, moderate pressure to guide the drill into the wood. Let the drill bit’s cutting edges do the work rather than forcing the bit aggressively.
Listen And Feel
Pay attention to the sound and feel of the drilling process. If the drill bit encounters resistance or the wood starts to splinter, ease off the pressure immediately.
Monitor Drill Speed
If your drill has adjustable speed settings, use a slower speed when drilling through wood.
Use Backing Material
When drilling through thin or delicate wood, consider placing a sacrificial piece of scrap wood underneath the workpiece. This provides additional support and reduces the likelihood of the wood fibres splitting on the exit side.
Lack Of Pilot Holes
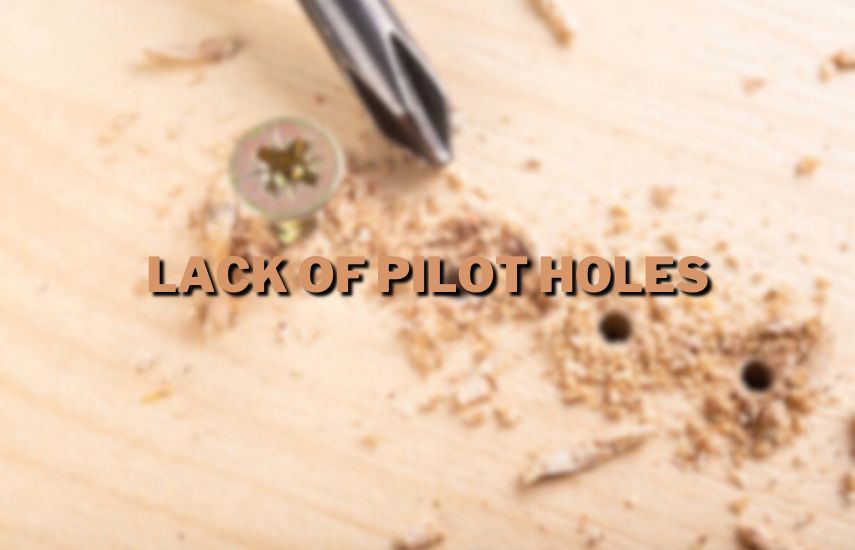
Failing to create pilot holes before drilling larger holes can lead to wood splitting, especially when using thicker wood or hardwood species. Pilot holes guide the drill bit, allowing it to cut more smoothly without stressing the surrounding wood fibres.
Select The Right Drill Bit
Choose a drill bit for creating the pilot hole that matches the size of the centre point of the more significant drill bit you’ll use for the central hole. Ideally, the pilot hole should be approximately the same size as the centre point to provide proper guidance.
Mark The Drilling Spot
Use a pencil or a marking tool to indicate where to drill the central hole. Double-check the positioning to ensure accuracy.
Align The Drill Bit
Insert the pilot hole drill bit into the drill chuck and align it with the marked spot on the wood. Hold the drill firmly with both hands for better control.
Drill Straight Down
When drilling the pilot hole, maintain the drill bit perpendicular to the wood surface. Drilling at an angle can compromise the accuracy and effectiveness of the pilot hole.
Control The Depth
Drill the pilot hole to a depth slightly shorter than the length of the more significant drill bit’s centre point. This ensures that the pilot hole provides adequate guidance for the central hole without compromising its effectiveness.
Check Pilot Hole Diameter
Once the pilot hole is complete, check its diameter to ensure it matches the centre point of the more significant drill bit you’ll use for the central hole. Adjust the pilot hole size if needed before proceeding.
Drill The Main Hole
With the pilot hole in place, switch to the more significant drill bit you need for the central hole. The pilot hole will act as a guide, allowing the more significant bit to cut through the wood more smoothly and reducing the chances of wood splitting.
Wood Moisture Content
The moisture content of wood significantly influences its susceptibility to splitting during drilling. Freshly cut or “green” wood with high moisture content is more likely to break. Conversely, overly dry wood can become brittle and also prone to splitting.
Understand Wood Moisture Content
Wood naturally contains water in its fibres. The moisture content is the ratio of the water weight in the wood to its dry weight, expressed as a percentage. Green or freshly cut wood contains a higher moisture content, which gradually decreases over time as the wood dries out.
Acclimate The Wood
If you acquire wood, recently cut or stored in a different environment, allowing it to acclimate to its new surroundings is essential. This helps the wood adjust to the humidity and temperature of your workshop or the installation site.
Store Wood Properly
During the acclimation process, stack the wood in a well-ventilated area. Use stickers or small pieces of wood between the boards to promote airflow. This allows the wood to dry uniformly and reduces the risk of warping or splitting.
Use A Moisture Meter
For an accurate measurement of the wood’s moisture content, it’s recommended to utilize a moisture meter specifically designed for woodworking purposes. These specialized meters provide precise readings tailored to the needs of woodworkers.
Determine Ideal Moisture Content
Different projects and wood species may require specific moisture levels. As a general guideline, aim for a moisture content of around 6-8% for indoor woodworking projects. Outdoor projects require slightly higher moisture content, depending on the climate.
Check Moisture Levels Before Drilling
Before drilling, use the moisture meter to check the wood’s moisture content. Ensure it has reached the appropriate level for your project. Drilling into the wood with excessive moisture content can cause the fibres to swell, leading to potential splitting.
Avoid Over-Drying The Wood
While it’s essential to reduce the wood’s moisture content, excessive drying can cause the wood to become overly brittle and prone to splitting. Monitor the moisture content regularly during the acclimation process.
Use Proper Sealing And Finishing
After drilling holes in the wood, consider using wood sealers or finishes to protect it from moisture absorption. Sealing the wood properly can help maintain its moisture content and minimize the risk of splitting due to changes in humidity.
Work With Stable Wood
If you encounter wood with extremely high or low moisture content, consider using alternative pieces with more stable moisture levels to avoid complications during drilling and throughout the project.
You can significantly reduce the likelihood of wood splitting when drilling. Properly acclimated and stable wood will result in more successful woodworking projects with fewer issues related to moisture content.
Wood Type
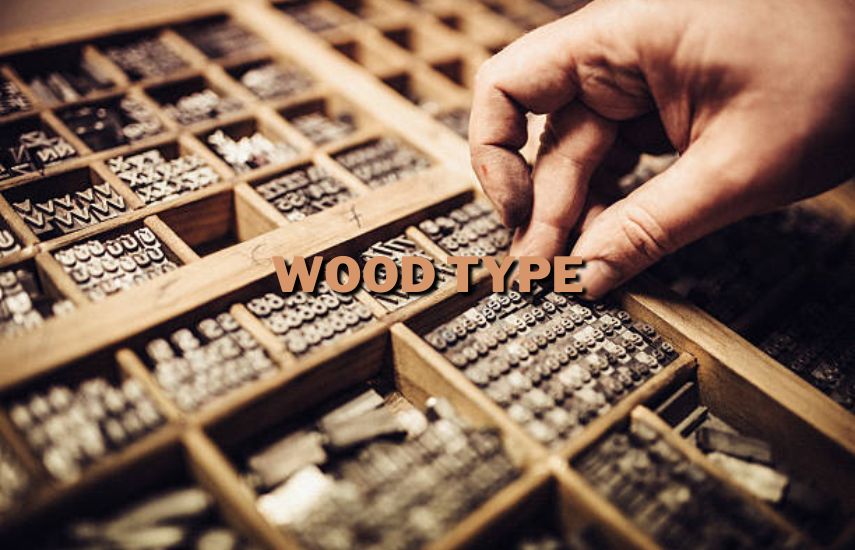
Certain wood species are more susceptible to splitting than others due to their inherent characteristics. Woods with large open pores, such as oak or ash, tend to split more easily.
Research Wood Species
Before starting a woodworking project, research different wood species to understand their specific characteristics, including their propensity for splitting. Some woods are naturally more prone to splitting due to their grain structure and density.
Consider Project Requirements
Evaluate the requirements of your project, such as the desired appearance, strength, and intended use of the final product. Certain wood species might be better suited for specific tasks, considering their resistance to splitting and overall durability.
Choose Dense And Stable Woods
Generally, hardwoods like maple, cherry, or walnut tend to be denser and more stable, making them less likely to split during drilling. These woods have tighter grain patterns, contributing to their excellent splitting resistance.
Avoid Open-Pore Woods
Woods with large open pores, such as oak or ash, are more susceptible to splitting. The pores create weak points in the wood’s structure, making it easier for the drill bit to cause splitting along the grain.
Work With Care
Handle the wood and the drill carefully to avoid putting unnecessary pressure on the wood fibres. Be attentive to the drilling process and stop immediately if you notice any signs of splitting.
Practice On Scrap Wood
If you need to figure out how a particular wood species will behave during drilling, practice on scrap pieces of the same material. This allows you to adjust your drilling technique before working on your main project.
You can minimize the risk of splitting during drilling and create beautiful, durable woodworking projects. Remember that a combination of proper wood selection, technique, and tool maintenance contributes to successful outcomes in your woodworking endeavours.
Conclusion (Why Is My Wood Splitting When Drilling)
Wood can split when drilling due to factors like wood grain orientation, using dull or incorrect drill bits, too much pressure, lack of pilot holes, or choosing wood species prone to splitting. Proper technique, sharp drill bits, and pilot holes help prevent splitting.
Wood splitting during drilling is a natural concern in woodworking, but it should encourage enthusiasts to pursue their creative projects. By delving into the core reasons behind wood splitting and employing the right strategies, woodworkers can master the art of drilling without compromising the integrity of their materials.
Understanding the importance of wood grain orientation and utilizing sharp drill bits with pilot holes demonstrate a commitment to precision and craftsmanship. Maintaining appropriate pressure during drilling and selecting wood species that align with project requirements showcase a thoughtful approach to woodworking.
With a combination of knowledge, skill, and attention to detail, woodworkers can overcome the challenge of wood splitting, resulting in cleaner and more polished drilling outcomes. The journey to becoming a proficient woodworker may involve trial and error, but the satisfaction derived from transforming raw wood into exquisite creations makes it all worthwhile.
Embrace the learning process, refine your techniques, and embark on your woodworking endeavours enthusiastically and confidently. Happy woodworking, and may your projects continue to bring joy and beauty to your craft!


