

Hey there, DIY enthusiasts and handy folks! You know that feeling when you’re all set to start a new project, but your drill bit just isn’t cutting it?
To sharpen a drill bit, use a bench grinder or specialised sharpening tool to restore its cutting edges.
Maintain the original bit angle, grind evenly on both sides, and use a honing stone to remove any burrs for a sharp, effective drill bit.
A dull drill bit can be frustrating, but fear not! I’m here to guide you through the easy process of sharpening your drill bits.
Whether you’re a pro or just starting, this step-by-step guide will help you keep your bits sharp and your projects on point.
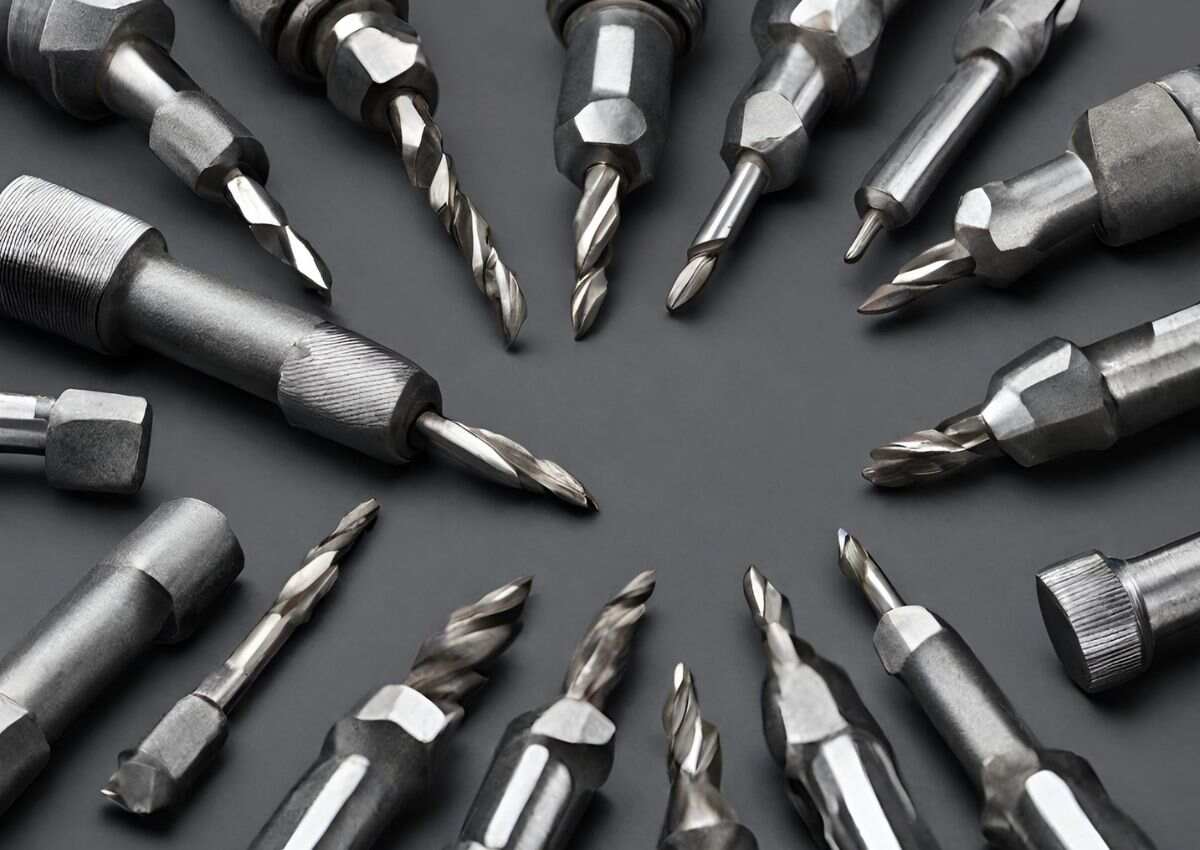
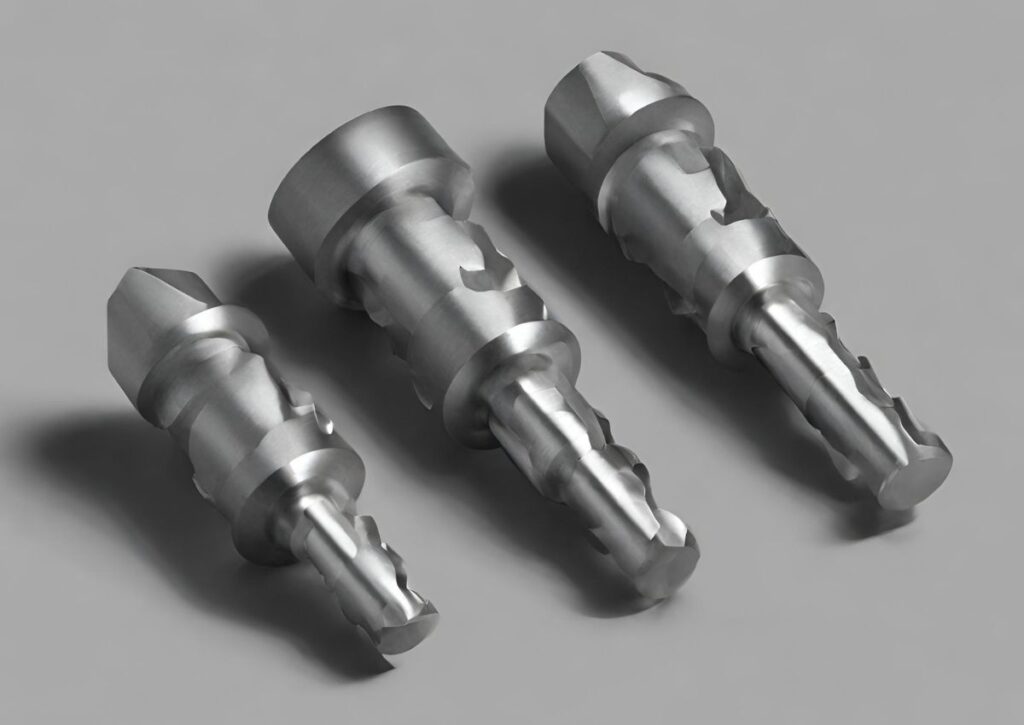
Know Your Drill Bit
Before diving into sharpening, let’s take a moment to understand the different types of drill bits out there.
From twist drills to spade bits and step bits, each has its own unique characteristics and requires specific sharpening techniques.
Identifying your bit type is the first step to a successful sharpening process.
Understanding Why Drills Chip and Dull
Have you ever wondered why your drill bits lose their sharpness? Factors like heat, friction, and the hardness of the material you’re drilling into can cause chips and dullness. Understanding these reasons can help prevent future problems.
Related Post: Beginner’s Guide To Use A Cordless Drill
Steps to Sharpen A Drill Bit
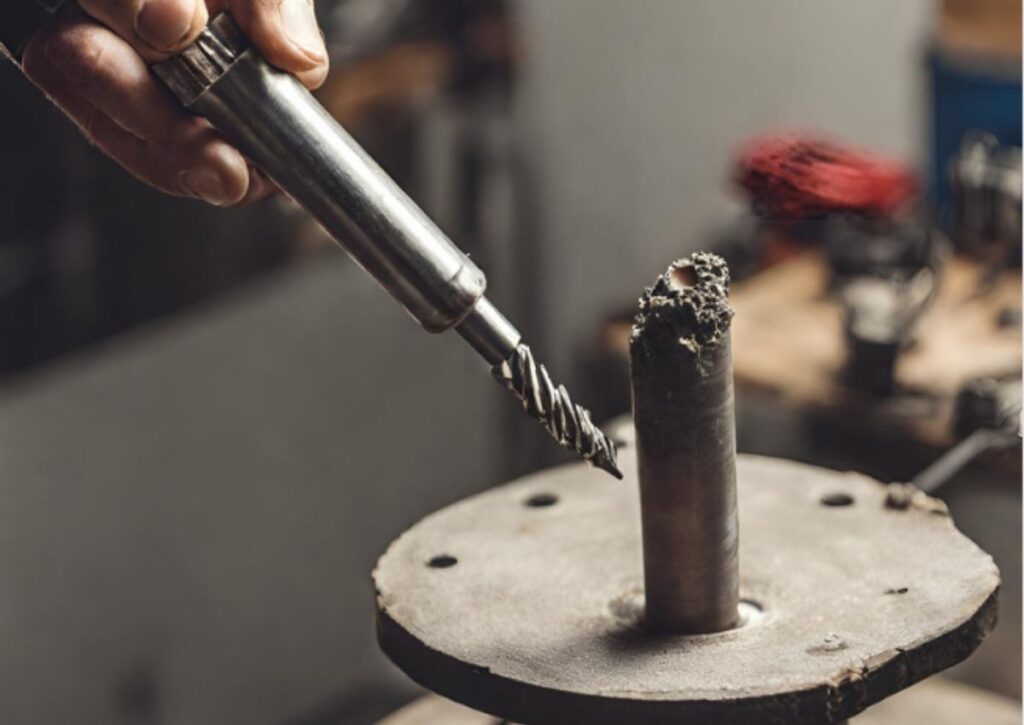
1. Prepare Your Bit
Preparation is key! Make sure your bit is clean and free from rust or debris. A quick clean-up will pave the way for a smoother sharpening process and a sharper outcome.
2. Choose Your Sharpening Tool
Pick out your tool now! Whether it’s a bench grinder, a sharpening device, or a trusty file, selecting the right sharpening tool is important. Each tool has its own quirks, so pick one that fits your comfort and needs.
3. Practice Holding the Bit
Safety first! Before diving in, ensure you’ve got a secure grip on the bit. Properly holding the bit while sharpening is crucial for both effectiveness and safety. Don’t forget those safety glasses!
3. Cut the Landing
Ever heard of the “landing” on a drill bit? It’s a critical part! I’ll guide you through the process of cutting the landing, which is fundamental to regaining that sharp edge.
4. Shape the Chisel
The chisel angle is a game-changer in drill bit sharpening. Let’s delve into shaping the chisel for maximum effectiveness when drilling into materials.
5. Shape the Landing
Continuing on shaping, we’ll look at the landing from a different perspective. Understanding its shape and ensuring it’s just right is crucial for a sharp bit.
6. Combine Cutting, shaving, and Rotating
Time to put it all together! Combining the previous steps, we’ll ensure the cutting, shaping, and rotating process is spot on for a finely sharpened bit.
7. Repetition
Practice makes perfect, they say! Regularly sharpening your drill bits is crucial. I’ll provide tips on how often to perform maintenance to keep those bits sharp.
8. A Final Word
So, there you have it! Remember, practice and patience are your best friends in the sharpening journey. Share your experiences and feel free to ask questions, we’re all in this together!
How to Sharpen Forstner Bits
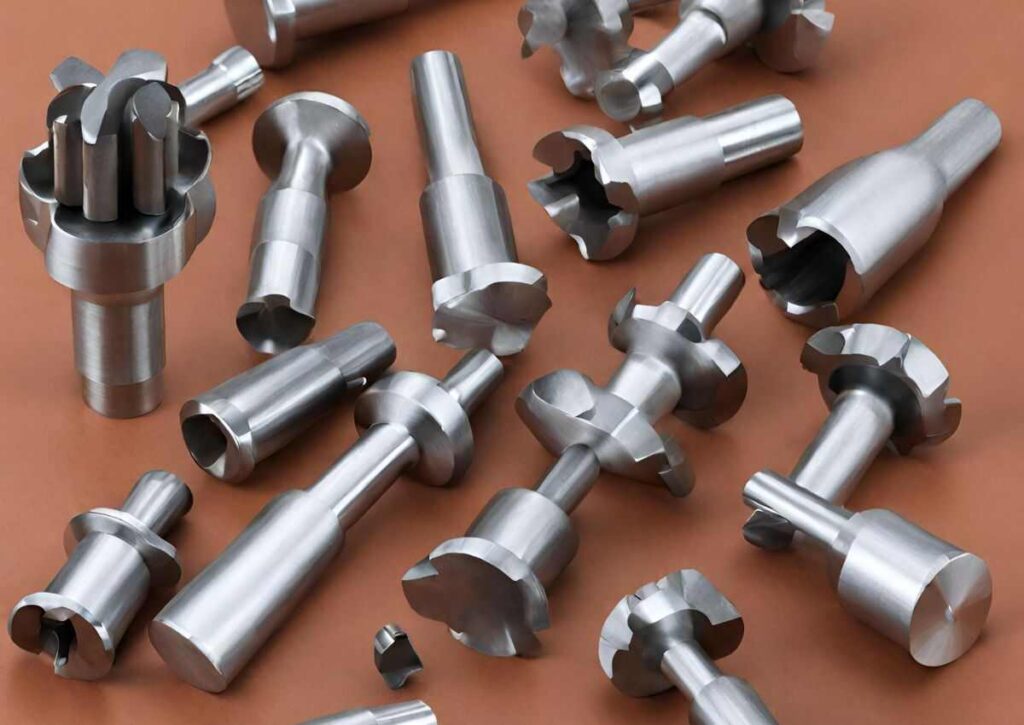
Forstner bits have a unique design with a flat bottom and a circular rim, making them ideal for drilling clean, flat-bottomed holes. Here are the steps to sharpen Forstner bits effectively:
1. Inspection
Before sharpening, carefully examine the bit for any damage, chips, or excessive wear. If there are major issues, it might be better to replace the bit.
2. Use of Guide
Forstner bits typically have a central spur, which can be used as a guide. Use a specialised sharpening tool or a grinding wheel to sharpen the rim, maintaining the original contour. Focus on the bevelled edge to restore its cutting ability.
3. Consistency in Sharpening
Ensure uniform sharpening around the circumference of the bit, maintaining the original angles. This guarantees precision when drilling.
How to Sharpen Spade Bits
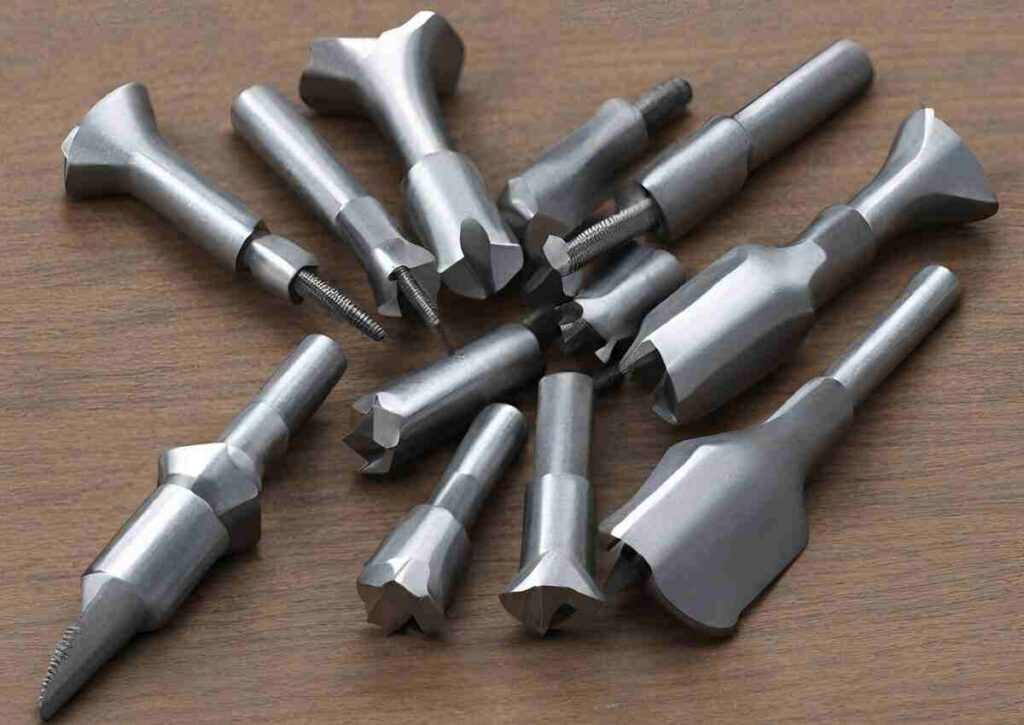
Spade bits, also known as paddle bits, have a flat, broad head used for fast drilling in wood. Sharpening them involves a few specific steps:
1. Cleaning and Inspection
Clean off any wood residue or debris from the bit, and check for any damage or excessive wear. Inspect the cutting edges for chips or dullness.
2. Recreating Bevels
Use a bench grinder or specialised sharpening tool to recreate the bevels on the cutting edges. Maintain the original angles and be cautious not to overheat the bit during sharpening.
3. Balancing and sharpening
Ensure even sharpening on both cutting edges to maintain balance. This prevents the bit from drifting during drilling.
How to Sharpen Step Bits
Step bits have a distinctive step-like structure with multiple cutting edges, allowing them to create holes of varying diameters. Here’s how to sharpen them effectively:
1. Cleaning and Examination
Clear off any debris or built-up material, and thoroughly inspect the bit for wear, chips, or damage.
2. Sharpening the Steps
Use a grinder or a specialised sharpening tool to sharpen each step individually. Focus on maintaining the original step geometry and cutting angles.
3. Equal Sharpening
Ensure equal sharpening across all steps of the bit. This maintains consistent cutting ability and prevents wobbling during drilling.
What NOT To Do
Overheating the Bit
Avoid excessive heat buildup while sharpening, as it can compromise the bit’s temper and hardness, reducing its effectiveness and lifespan.
Inconsistent Angles
Steer clear of inconsistent or incorrect angles while sharpening. Maintaining the proper angle is crucial for the bit’s efficiency and precision during drilling.
Excessive Material Removal
Refrain from removing too much material during the sharpening process. Over-grinding can weaken the drill bit, affecting its structural integrity.
Ignoring Safety Precautions
Don’t neglect safety measures. Always wear safety glasses, and consider using a clamp or fixture to secure the bit during sharpening to prevent accidents.
Skipping Cleaning and Inspection
Avoid neglecting the cleaning and inspection process before sharpening. Remove any debris or built-up materials, and carefully inspect the bit for any cracks or damage that could affect its performance.
Conclusion
There you go, folks! Sharpening your drill bits doesn’t have to be an intimidating task. With these easy steps and a sprinkle of know-how, you can keep your bits sharp, your projects on track, and your DIY adventures in full swing. Remember, a sharp bit is a happy bit!
FAQs
How do I know if my drill bit needs sharpening?
You can tell if your drill bit needs sharpening by observing its performance. If the bit is producing smoke or burning the material instead of cutting cleanly, it might be dull.
Also, if it requires excessive pressure to drill or leaves rough edges, it’s a sign that sharpening is needed.
Can I sharpen drill bits for metal and wood using the same method?
While the basic sharpening steps are similar, the specific methods might differ slightly for metal and wood drill bits.
Metal bits often require a more precise edge, while wood bits can sometimes withstand a slightly less sharp edge.
Adjusting the sharpening technique based on the material the bit is intended for can yield better results.
Is it possible to sharpen very small or large drill bits?
Yes, it’s possible to sharpen both very small and large drill bits, although the process might vary slightly.
For small bits, extra care and attention are required due to their delicate nature. Large bits might need more time and a larger sharpening tool to ensure the entire cutting edge is properly sharpened.
Can I reuse damaged or broken drill bits?
It depends on how bad the damage is. It is often possible to fix small damage, like a chip, by sharpening.
However, if the damage is too bad, like a broken tip, it might not be possible to fix it. When this happens, it is better to buy a new bit.
How often should I sharpen my drill bits?
The use and materials drilled determine how often the drill needs to be sharpened. It may be necessary to sharpen bits more often, maybe after every project or a few uses, if they are used a lot or on harder materials.
If you use lighter tools on softer materials, you might not need to sharpen them as often, maybe only after a few projects. To keep the bit cutting well, it is a good idea to check its sharpness every so often.
Also Read
Demystifying Core Drilling Cost: A Comprehensive Guide


