

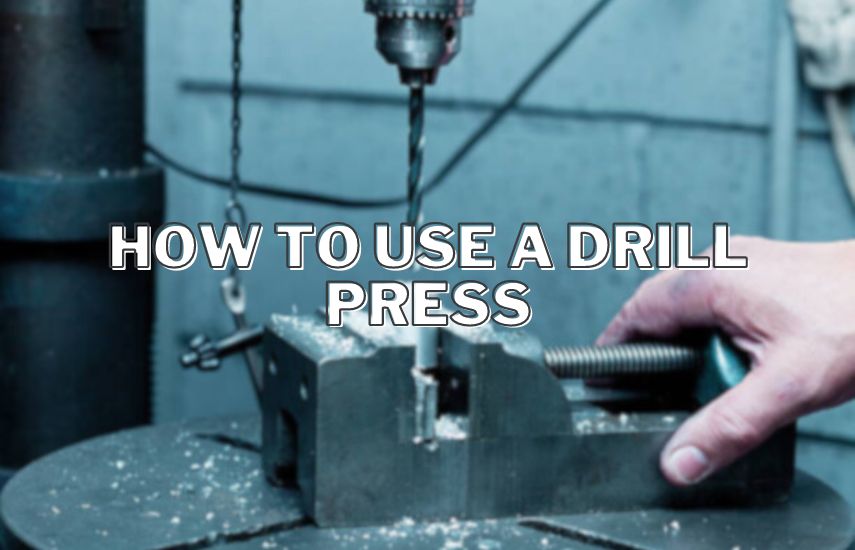
Are you tired of trying to make precise holes in your DIY projects using a handheld drill? Or maybe you’re looking to take your woodworking skills to the next level? Whatever your reason may be, learning how to use a drill press is a game-changer.
How To Use A Drill Press? To use a drill press, first, select the right drill bit and insert it into the chuck. Then, adjust the table height and secure your workpiece. Next, turn on the drill press and slowly lower the bit onto the workpiece. Remember to wear safety goggles and keep your hands clear of the bit.
With its ability to make perfectly straight and accurate holes, a drill press is a must-have for any DIY enthusiast or professional woodworker. In this blog, we’ll guide you through the process of using a drill press and help you unlock its full potential.
Anatomy of a Drill Press
If you are new to using a drill press, it is important to familiarize yourself with the machine’s different components. Understanding the anatomy of a drill press will help you use it more effectively and safely. We will discuss the different parts of a drill press and their functions.
The Base
The base is the foundation of the drill press and provides stability to the machine. It is usually made of cast iron and should be securely mounted to the floor or workbench. The base also has slots that allow you to bolt the drill press to a workbench or table.
The Column
The column is the vertical part of the drill press that supports the head and table. It is usually made of steel and is attached to the base. The column’s height can be adjusted to accommodate different workpieces, and it may also have depth markings to help you make accurate adjustments.
The Head
The head is the upper part of the drill press that houses the motor and the spindle assembly. It can be tilted to drill angled holes and may also have a depth stop to control the depth of the hole. The head can be raised or lowered along the column to adjust the drilling height.
The Table
The table is the flat surface on which you place your workpiece. It can be adjusted up or down to accommodate different workpieces, and it may also be tilted to drill angled holes. Some drill press tables also have slots for attaching clamps or vises to hold your workpiece securely.
The Quill and Spindle
The quill and spindle assembly is what actually drills the hole. The quill is the part that moves up and down, and it is attached to the spindle. The spindle is the part that holds the drill bit and rotates it. The quill and spindle can be raised or lowered by using the feed handle.
The Chuck
The chuck is the part that holds the drill bit in place. It is usually made of metal and has three jaws that tighten around the drill bit. The chuck can be opened or closed using a key or by hand, depending on the type of chuck.
The Feed Handle
The feed handle is used to lower the quill and spindle to the workpiece. It can also be used to raise the quill and spindle after drilling. The feed handle can usually be locked in place to keep the quill and spindle at a specific depth while drilling.
In conclusion, understanding the different parts of a drill press is essential for safe and effective use. By knowing the functions of each component, you can make adjustments to the machine that suit your specific drilling needs. Always follow the manufacturer’s instructions and take appropriate safety precautions when using a drill press.
Choosing the Right Drill Press
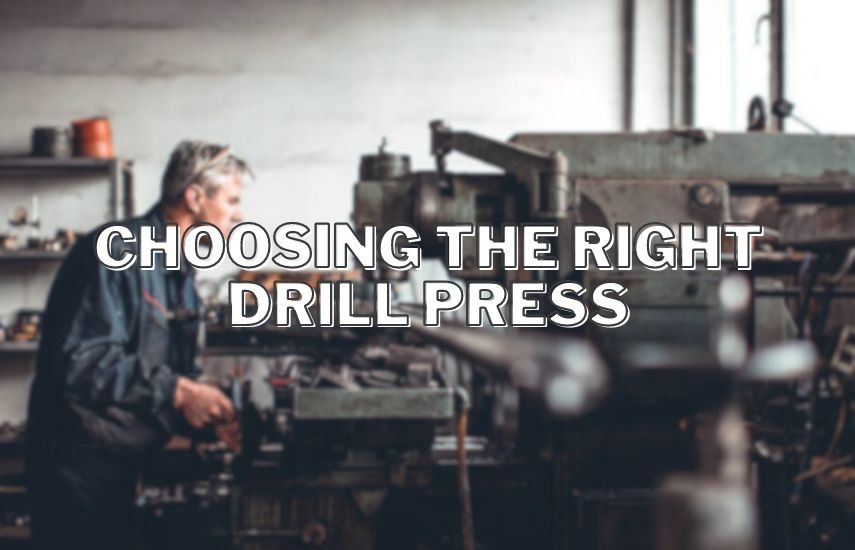
When it comes to choosing the right drill press, there are several factors to consider, such as your specific needs and budget, the type of projects you’ll be working on, and the space available in your workshop. We’ll go over the key factors to keep in mind when selecting a drill press.
Assessing Your Needs and Budget
Before you start looking for a drill press, it’s important to assess your needs and budget. Ask yourself what types of projects you’ll be using the drill press for, how often you’ll be using it, and what kind of materials you’ll be working with. This will help you determine what features and capabilities you need in a drill press.
When it comes to budget, drill presses can range in price from less than $100 for a basic model to over $1,000 for a high-end professional-grade machine. Consider how much you’re willing to spend and what features are most important to you.
Comparing Benchtop vs Floor-standing Models
There are two main types of drill presses: benchtop and floor-standing. Benchtop models are smaller and more portable, making them ideal for smaller workshops or hobbyists who don’t have a lot of space. They typically have a smaller capacity and may not be as powerful as floor-standing models.
Floor-standing models are larger and more powerful, making them ideal for professional workshops or anyone who needs to work with larger materials or make more precise cuts. They typically have a greater capacity and can handle larger drill bits.
Consider the space you have available in your workshop and what type of projects you’ll be working on to determine whether a benchtop or floor-standing model is right for you.
Evaluating Speed and Power Options
Another important factor to consider when choosing a drill press is speed and power options. Most drill presses offer variable speed settings, which allow you to adjust the speed of the drill bit depending on the material you’re working with.
Power is another important consideration. The horsepower of a drill press will determine how quickly and efficiently it can drill through materials. Generally speaking, the more horsepower a drill press has, the better it will be able to handle tougher materials and larger drill bits.
Consider the type of projects you’ll be working on and what materials you’ll be drilling through to determine what speed and power options you need in a drill press. Keep in mind that higher horsepower and variable speed settings will typically come at a higher price point.
Setting Up Your Drill Press
A drill press is an essential tool for anyone looking to make precise and accurate holes in various materials. However, setting up a drill press can be a daunting task, especially for beginners. We will guide you through the process of setting up your drill press step by step.
Assembling the Components
Before you start setting up your drill press, you need to ensure that you have all the necessary components. These may include the drill press, the base, the column, the table, the chuck, and the motor. Follow the manufacturer’s instructions to assemble the components correctly.
Start by attaching the base to the column using the provided bolts and nuts. Once the base is secure, attach the table to the column using the same bolts and nuts. Finally, attach the motor and chuck to the top of the column.
Adjusting the Table Height and Angle
The next step is to adjust the height and angle of the table. The table should be adjusted so that it is level and perpendicular to the drill bit. This will help to ensure that the holes you drill are straight and accurate.
To adjust the height of the table, loosen the locking nut underneath the table and raise or lower the table as required. Once you have set the height, tighten the locking nut to secure the table in place. To adjust the angle of the table, loosen the locking nut at the base of the column and tilt the table to the desired angle. Once you have set the angle, tighten the locking nut to secure the table in place.
Installing the Drill Bit
The next step is to install the drill bit. Start by selecting the appropriate drill bit for the material you are drilling. Insert the shank of the drill bit into the chuck and tighten the chuck using the chuck key. Ensure that the drill bit is securely held in place before proceeding.
Securing the Workpiece
Before you start drilling, you need to secure the workpiece to the table. This will help to ensure that the workpiece does not move or vibrate during drilling, which can lead to inaccurate holes or even injury.
To secure the workpiece, place it on the table and use clamps or a vise to hold it in place. Ensure that the workpiece is securely held in place before proceeding.
Setting the Depth Stop
The final step is to set the depth stop. The depth stop helps to ensure that the holes you drill are of a consistent depth. To set the depth stop, adjust the stop collar on the drill bit to the desired depth. You can then set the depth stop to prevent the drill bit from going any deeper than the desired depth.
In conclusion, setting up a drill press can seem intimidating, but by following these steps, you can be confident that you have set up your drill press correctly and safely. Remember to always read the manufacturer’s instructions and take appropriate safety precautions when using a drill press.
Drilling Operations

When it comes to drilling, a drill press is an essential tool in any workshop. It’s a versatile machine that can be used for a wide range of drilling operations, from drilling holes in metal, wood, or plastic to creating precision holes in delicate materials. However, using a drill press correctly requires a bit of practice and knowledge. We’ll walk you through the step-by-step process of how to use a drill press for your next project.
Selecting the Appropriate Drill Bit
The first step in using a drill press is selecting the appropriate drill bit. The size and type of bit you need will depend on the material you’re drilling into and the size of the hole you want to create. Some common drill bit materials include high-speed steel (HSS), cobalt, and carbide. It’s essential to use the correct bit type for the material you’re drilling into to avoid damaging the bit or the workpiece.
Adjusting the Speed
After selecting the appropriate drill bit, the next step is to adjust the drill press’s speed. The speed of the drill press is crucial in achieving accurate and clean holes. Most drill presses have multiple speed settings, which can be adjusted by moving the belt to different pulleys. You can refer to the manufacturer’s instructions to determine the recommended speed range for the drill bit and material you’re using.
Aligning the Workpiece
Once you have selected the drill bit and adjusted the speed, it’s time to align the workpiece. Make sure the workpiece is securely clamped to the drill press’s table or vice. The workpiece should be level and centered under the drill bit to avoid uneven drilling and damaging the bit or workpiece.
Starting the Drill Press
Before starting the drill press, make sure the bit is clear and free of any debris. Turn on the drill press and adjust the speed to the desired setting. Gently lower the drill bit onto the workpiece until it touches the surface. This step is crucial to ensure that the bit is positioned correctly before drilling.
Feeding the Drill Bit into the Workpiece
Once the drill bit is positioned correctly, it’s time to start drilling. Use the handle to lower the bit into the workpiece slowly. Keep the bit straight and avoid applying too much pressure as it can cause the bit to break or damage the workpiece.
Retracting the Drill Bit
After drilling the desired depth, slowly raise the drill bit from the workpiece. Be careful not to damage the workpiece or the bit during this step. Once the bit is clear of the workpiece, turn off the drill press.
Repeat Drilling and Finishing
If you need to drill multiple holes, repeat the drilling process, making sure to adjust the speed and align the workpiece correctly for each hole. Once you have completed all the holes, remove the workpiece from the drill press and inspect the holes for accuracy and smoothness. If necessary, sand or file any rough edges or burrs for a clean finish.
In conclusion, using a drill press requires attention to detail and knowledge of the correct procedures. By following the step-by-step guide outlined above, you can achieve accurate and precise holes with ease. Remember to take your time, select the appropriate drill bit, adjust the speed, align the workpiece, and maintain a steady and gentle pressure when drilling.
Conclusion (How To Use A Drill Press)
Using a drill press requires selecting the correct bit and adjusting the table height. Make sure to secure your workpiece and wear protective goggles. Turn on the drill press and carefully lower the bit onto the workpiece. Keep your hands away from the bit and maintain a steady pace.
To sum it up, using a drill press is like dancing with precision. Your safety gear is your dance partner, keeping you safe from any unexpected moves. Choosing the right bit sets the rhythm, ensuring you hit the right note every time. Adjusting the speed is your tempo control, giving you the power to go fast or slow.
And just like a maestro, the drill press handle lets you guide the show, creating perfect holes. So, suit up, pick your bit, set the speed, and let your drill press dance its way through your projects, making your DIY journey smooth and safe.


