

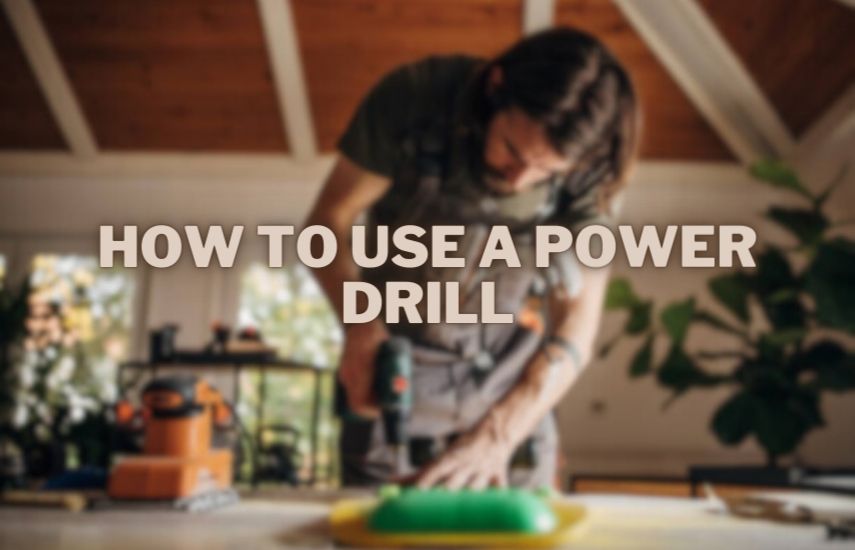
Are you a DIY enthusiast looking to take on new projects around your home? Or maybe you’re a professional contractor who wants to improve your skills and efficiency on the job site? Either way, one tool that’s essential to have in your arsenal is a power drill.
How To Use A Power Drill? To use a power drill, insert the appropriate bit into the chuck, adjust the depth gauge to your desired drilling depth, and secure your material. Hold the drill with both hands and slowly apply pressure to the trigger, keeping the drill level and steady as it rotates.
Whether you need to hang a picture frame or install drywall, a power drill can make your job much easier and quicker. But if you’re new to using a power drill, don’t worry! In this blog, we’ll cover everything you need to know to confidently use a power drill and tackle your next project with ease.
Components And Terminology
Before you start using a power drill, it’s essential to understand the various components and terminology associated with it. Knowing the different parts of a drill and their functions will help you operate it safely and effectively.
We’ll cover the components and terminology of a power drill, including the drill body and motor, trigger and speed control, chuck and chuck key, and drill bits and their functions.
Drill body and motor
The drill body is the main part of the power drill that houses the motor, handle, and trigger. The motor is the heart of the drill that powers the rotation of the chuck. When choosing a power drill, consider the size and weight of the drill body as it can affect the maneuverability of the tool. The motor’s power output will determine the drill’s drilling capacity and performance.
Trigger and speed control
The trigger is the part of the drill that you press to activate the motor. The speed control regulates the drill’s speed, and it can be adjusted using a dial or switch. The speed range of a power drill can vary depending on the model, but most drills can operate at different speeds, allowing you to adjust the drilling speed to match the material you’re drilling.
Chuck and chuck key
The chuck is the part of the drill that holds the drill bit in place. Most power drills have a keyless chuck, which means you can insert and remove drill bits without the need for a chuck key. However, some drills still use a keyed chuck, which requires a chuck key to tighten and loosen the chuck jaws.
When choosing a drill, consider the size of the chuck as it will determine the diameter of the drill bits you can use. Some chucks have a quick-release mechanism that allows you to change drill bits quickly and easily.
Drill bits and their functions
Drill bits are the attachments that fit into the chuck and rotate to drill holes into materials. There are various types of drill bits available, including twist bits, spade bits, hole saws, and auger bits. Each type of drill bit is designed for a specific purpose, such as drilling through wood, metal, or masonry.
When selecting a drill bit, consider the material you’re drilling and the size of the hole you want to create. Make sure to choose the right drill bit for the job to avoid damaging the material or the bit. Always wear protective eyewear when drilling and follow the manufacturer’s recommendations for the specific drill bit you’re using.
Preparing For Use
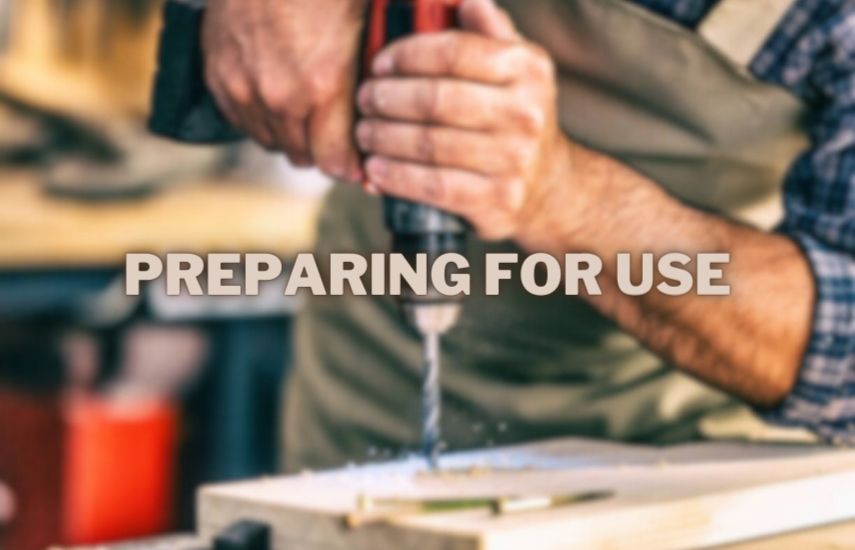
Before you start using a power drill, it’s important to properly prepare for the task at hand. This includes selecting the right power drill for your project, choosing the appropriate drill bit, and ensuring a safe work environment with the proper safety gear.
Choosing the right power drill
There are various types of power drills available in the market, and choosing the right one for your project is crucial. Here are some factors to consider:
- Corded or cordless: Corded drills are usually more powerful and suitable for heavy-duty tasks, while cordless drills offer more mobility and convenience.
- Chuck size: The chuck is the part of the drill that holds the drill bit. Choose a chuck size that accommodates the size of the drill bits you will be using.
- Speed settings: Different tasks require different speeds. Look for a drill that offers multiple speed settings to give you more control.
- Drill power: The power of the drill is measured in amps. For heavier tasks, choose a drill with higher amps.
Selecting the appropriate drill bit
Choosing the right drill bit is just as important as choosing the right power drill. Here are some tips:
- Material: Choose a drill bit that is suitable for the material you will be drilling. For example, masonry bits are designed for drilling through concrete, brick, and stone, while wood bits are designed for drilling through wood.
- Size: Choose a drill bit that is the right size for your project. Using the wrong size drill bit can result in inaccurate holes or damage to your workpiece.
- Shank type: The shank is the part of the drill bit that fits into the chuck of the drill. Choose a shank type that is compatible with your drill.
Ensuring proper work environment and safety gear
Using a power drill can be dangerous if proper safety precautions are not taken. Here are some tips for ensuring a safe work environment:
- Wear eye protection: Flying debris can cause eye injury, so always wear safety glasses or goggles.
- Keep your work area clean and organized: A cluttered work area can lead to accidents.
- Use clamps or a vise to secure your workpiece: This will prevent it from moving around and causing injury.
- Keep your fingers away from the drill bit: Always keep your fingers clear of the drill bit, and avoid wearing loose clothing or jewelry that could get caught in the drill.
By following these tips, you can prepare yourself for safe and successful use of a power drill.
Step by Step Guide
When it comes to DIY projects and home repairs, a power drill is an essential tool in your arsenal. Whether you’re hanging shelves, assembling furniture, or drilling into masonry, a power drill can make the job much easier and faster.
But if you’ve never used a power drill before, it can be intimidating. We’ll walk you through the process step by step, so you can use your power drill with confidence.
Installing the Drill Bit
The first step in using a power drill is to install the drill bit. Different types of drill bits are designed for different materials, so it’s important to choose the right one for the job. To install the drill bit, follow these steps:
- Open the chuck by turning it counterclockwise.
- Insert the shank of the drill bit into the chuck.
- Tighten the chuck by turning it clockwise, using the chuck key or by hand.
- Give the chuck a final tightening by using the drill in the forward direction, which will secure the bit in place.
Adjusting Torque and Speed Settings
Before you start drilling, you’ll need to adjust the torque and speed settings on your power drill. The torque setting controls the amount of force applied to the drill bit, while the speed setting controls how fast the drill rotates. To adjust these settings, follow these steps:
- Find the torque and speed adjustment settings on your drill. They are usually located near the trigger or on the top of the drill body.
- Turn the torque setting to the desired level. For softer materials like wood, a lower torque setting is recommended, while harder materials like metal or masonry will require a higher torque setting.
- Adjust the speed setting to the appropriate level. Higher speed settings are typically used for drilling softer materials, while lower speed settings are better for harder materials.
Drilling a Pilot Hole
If you’re drilling into a hard material like wood or metal, it’s often helpful to start with a pilot hole. A pilot hole is a small hole that serves as a guide for the larger drill bit. To drill a pilot hole, follow these steps:
- Choose a drill bit that is smaller than the final hole size you need.
- Set your drill to a low speed and torque setting.
- Position the drill bit on the spot where you want to drill the main hole.
- Apply light pressure and start drilling. Stop drilling when the pilot hole is deep enough to guide the larger drill bit.
Drilling the Main Hole
Once you’ve drilled a pilot hole, you can drill the main hole. To do so, follow these steps:
- Replace the drill bit with the appropriate size for the main hole.
- Adjust the torque and speed settings to the appropriate level for the material you’re drilling.
- Position the drill bit on the pilot hole, using it as a guide.
- Apply steady pressure and drill the main hole to the desired depth.
Using the Reverse Function for Screw Driving
Many power drills have a reverse function, which is useful for screw driving. To use the reverse function, follow these steps:
- Insert the appropriate screwdriver bit into the chuck.
- Adjust the torque and speed settings to the appropriate level for the screw you’re driving.
- Position the screwdriver bit on the screw head.
- Hold the drill steady and press the trigger to drive the screw in reverse.
Hammer Drilling For Masonry
If you need to drill into masonry or concrete, you’ll need to use a hammer drilling function. Hammer drilling applies a percussive force to the drill bit, which helps break up the hard
Maintenance And Troubleshooting
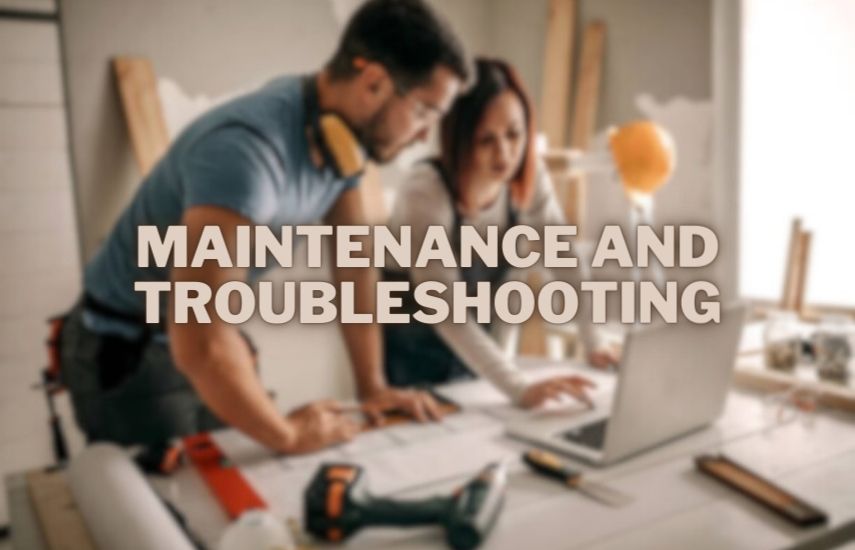
Maintaining your power drill is crucial to ensure its longevity and efficiency. Routine cleaning, proper storage, and battery care are some essential maintenance practices that you need to follow.
However, even with regular maintenance, you might encounter issues with your power drill. Identifying common problems and knowing when to seek professional help for repairs can save you from costly damages and ensure your safety.
Proper cleaning and storage
Regular cleaning of your power drill can prevent dust and debris from clogging the motor or getting inside the gear system. To clean your power drill, first, unplug it and remove the battery.
Use a soft-bristled brush or a dry cloth to wipe off the dirt and debris from the exterior of the drill. You can use a damp cloth to clean the chuck and the drill bits. Ensure that the drill is completely dry before storing it.
Proper storage is also essential to prevent your power drill from getting damaged. Store your drill in a dry and cool place, away from direct sunlight and moisture. You can use the original carrying case or a dedicated storage box to protect your drill from dust and other debris.
Battery care and charging
The battery is a critical component of your power drill, and proper care is necessary to ensure its longevity. Always use the recommended battery for your drill, and do not use damaged or incompatible batteries. Avoid overcharging or undercharging the battery, as it can cause damage to the cells.
To charge your power drill battery, first, ensure that it is completely drained before charging. Connect the charger to a power source and insert the battery into the charging dock. The charger will indicate when the battery is fully charged, and you can disconnect it from the charger. Do not leave the battery on the charger for an extended period, as it can damage the cells.
Identifying common issues
Despite regular maintenance, you might encounter issues with your power drill. Some common issues include overheating, loss of power, chuck slipping, and strange noises. Overheating can occur due to prolonged use or a clogged motor.
Loss of power can happen due to a faulty battery or damaged motor. Chuck slipping can happen due to a loose or damaged chuck, while strange noises can be due to damaged gears or bearings.
Seeking professional help for repairs
If you encounter any of the above issues, it is best to seek professional help for repairs. Attempting to fix the issues yourself can cause further damage to your power drill or even cause harm to you.
A professional technician can diagnose the problem and offer the best solution for repairs. Regular maintenance and professional servicing can ensure the longevity and efficiency of your power drill.
Tips and Tricks
If you are new to using a power drill, it can seem like an intimidating tool. However, with a few tips and tricks, you can quickly master this powerful tool and make it an essential part of your DIY toolbox. We’ll cover some helpful tips and techniques for using your power drill efficiently and safely.
Techniques for straight and precise drilling
When drilling, it’s essential to keep the drill bit straight and level to ensure precision and accuracy in your work. Here are some tips to help you achieve straight and precise drilling:
- Use a level or square to ensure your drill is perpendicular to the surface you’re drilling into.
- Start drilling slowly to create a small pilot hole, which will help guide the drill bit and prevent it from wandering off course.
- Apply gentle pressure when drilling to avoid bending the drill bit or causing it to deviate from its path.
- Consider using a drill guide or jig to help you maintain a straight drilling angle.
Drilling into different materials
Different materials require different drilling techniques. Here are some tips for drilling into various materials:
- Wood: Use a sharp drill bit and drill slowly to prevent splintering. Consider using a countersink bit to create a recessed hole for a flush finish.
- Metal: Use a drill bit designed for metal and apply cutting oil to reduce friction and heat. Start drilling slowly and gradually increase the speed.
- Masonry: Use a masonry drill bit and hammer function on your drill. Hold the drill steady and apply steady pressure to avoid cracking the surface.
Preventing drill bit slippage
Drill bit slippage can cause damage to your workpiece and increase the risk of injury. Here are some tips for preventing drill bit slippage:
- Ensure your drill bit is correctly secured in the chuck and tightened firmly.
- Avoid drilling at high speeds, as this can cause the bit to slip.
- Consider using a center punch to create a small indentation in the surface before drilling to help guide the bit.
Extending the life of your power drill
Proper maintenance and care can help extend the life of your power drill. Here are some tips:
- Regularly clean and oil your drill to prevent rust and ensure smooth operation.
- Store your drill in a dry, clean place to avoid damage from moisture and dust.
- Avoid using your drill for tasks it’s not designed for, such as mixing paint or stirring cement.
- Replace worn or damaged parts promptly to prevent further damage to the drill.
Conclusion (How To Use A Power Drill)
Using a power drill is easy. First, select the right drill bit for your task and insert it into the chuck. Next, adjust the depth stop and clamp your material in place. Finally, grip the drill firmly with both hands, press the trigger, and smoothly drill into the material. Remember to keep the drill perpendicular to the surface for best results.
Congratulations! By now, you should have a good understanding of how to use a power drill. We’ve covered the basics, from selecting the right drill bit to mastering drilling techniques.
Learning how to use a power drill is a valuable skill that can save you time and money on home improvement projects. It allows you to tackle projects that would have otherwise required professional help, giving you a sense of independence and accomplishment.


