

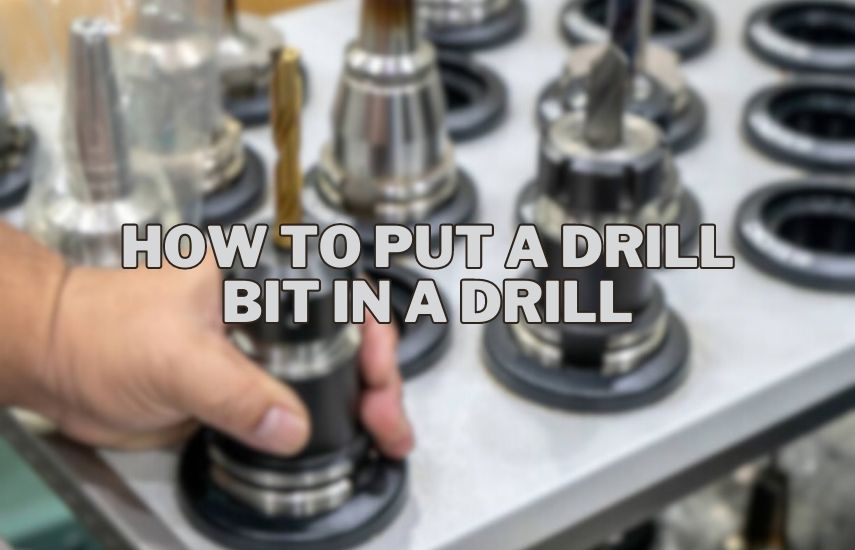
Have you ever found yourself staring at a drill bit and a drill, wondering how to put them together? You’re not alone! For many DIY enthusiasts and professionals, inserting a drill bit can be confusing.
How To Put A Drill Bit In A Drill? Turn the chuck to the left (counterclockwise) to make it loose. Put the bit into the chuck and turn the chuck to the right (clockwise) to make it tight. If needed, you can use the chuck key to make sure it’s really secure.
But fear not; with a few simple steps, you’ll be ready to tackle any drilling project efficiently. In this blog post, we’ll guide you through putting a drill bit in a drill so you can get back to your project quickly.
Drill And Drill Bit Basics
Before you begin any DIY project that requires drilling, you must understand the basics of the drill and the drill bit. You can achieve accurate and efficient drilling results with the proper knowledge and tools.
Understanding Drill Components
A typical drill has several components, including a motor, chuck, and trigger. The engine powers it and rotates the chuck, which holds the drill bit in place.
Some drills may also come with additional features, such as a clutch that can control the torque applied or a hammer action that allows the drill machine to be used for masonry work.
It’s important to understand these components and how they work together, as it can affect the type of drill bit you select and the drilling technique you use.
Types Of Drill Bits And Their Applications
Different drill bits are available; each bit is designed for specific materials and applications. Here are some of the most common types:
- Twist Drill Bits: Drill bits used for drilling holes in wood, metal, and plastic, fiber.
- Brad Point Bits: Brad Point bits have a pointed tip that helps to prevent the drill bit from wandering and produces a cleaner, more accurate hole. They are ideal for drilling into wood.
- Masonry Bits: These bits are mostly used for drilling into hard stuff such as concrete, brick, and stone. They have a carbide tip that withstands the harsh drilling conditions of masonry work.
- Spade Bits: These bits are flat, paddle-like, ideal for drilling larger-diameter holes in wood. They are commonly used for rough drilling tasks such as creating holes for pipes or cables.
- Forstner Bits: These bits are mostly used for drilling flat-bottomed holes in wood, making them ideal for furniture making and cabinetry.
Selecting The Right Drill Bits For Your Projects
It is essential to achieving accurate and efficient drilling results. Here are some factors to consider when choosing a drill bit:
- Material: Consider the material you will be drilling into, as this will affect the type of drill bit you need. For example, masonry bits are used for drilling into hard substances such as concrete, brick, and stone, while twist bits are better suited for drilling into wood and metal.
- Size: Consider the hole size you need to drill, as this will affect the drill bit size you need.
- Depth: Consider the depth of the hole you need to drill, as this will affect the length of the drill bit you need.
- Project Type: Consider the type of project you will be working on, as this may affect the drill bit you need. For example, a Brad point bit may be more suitable than a twist if you are working on a woodworking project.
Installing A Drill Bit
Using a drill is a handy skill for DIY enthusiasts and professionals alike. However, you must know how to install a drill bit before drilling. We will take you through the step-by-step process of installing a drill bit, from gathering the necessary tools and materials to testing the drill bit installation.
Gather Necessary Tools And Materials
Before installing a drill bit, you must gather the necessary tools and materials. Make sure you choose the right size of drill bit for the job you are doing. You can check the size of the bit by reading the numbers on the side or using a caliper.
Unplug Or Disengage Battery From The Drill
For safety reasons, it is essential to unplug the drill or disengage the battery before installing a drill bit. It will prevent the drill machine from accidentally turning on while inserting the bit.
Open The Drill Chuck
Next, you need to open the chuck of the drill. To open the chuck, rotate the chuck sleeve counterclockwise until the jaws are wide enough to insert the drill bit.
Insert The Drill Bit
Once the chuck is open, you can insert the drill bit into the chuck. Hold the bit by the shank and place it into the chuck jaws. Make sure the bit is straight.
Tighten The Chuck Securely
You need to tighten the chuck to secure the drill bit in place. Hold the drill bit and rotate the chuck sleeve clockwise until the jaws grip the bit firmly. Use a chuck key or the drill’s built-in chuck tightening mechanism to tighten the chuck securely.
Test The Drill Bit Installation
After tightening the chuck, give the drill bit a gentle tug to make sure it is securely in place. You can also turn the drill on and off a few times to make sure the bit is stable and not wobbling. Once you have confirmed the drill bit is securely installed, you are ready to start drilling.
Installing a drill bit is a simple process that requires a few steps.
Troubleshooting Common Issues
Using a drill can be a straightforward task, but sometimes you may encounter problems such as slipping or wobbling drill bits, difficulty tightening or loosening the chuck, or needing to replace a damaged or worn drill bit. We will discuss these common issues and provide helpful tips on troubleshooting them.
Drill Bit Slipping Or Wobbling
If your drill bit is slipping or wobbling, it may need to be adequately secured in the chuck. First, turn off the drill and unplug it to fix this issue. Then, check the drill bit to ensure it is straight and not bent. If it is bent, replace it with a new one.
Next, make sure the chuck is adequately tightened around the drill bit. Use the chuck key to draw it as much as possible, but do not overtighten it. If the problem persists, try using a different size or type of drill bit. Some materials may require a specific bit to avoid slipping or wobbling.
Difficulty Tightening Or Loosening The Chuck
If you have difficulty tightening or loosening the chuck, ensure the drill is turned off and unplugged. Then, check if the chuck key is the correct size for the chuck. If the chuck key is the right size, try lubricating the chuck with a few drops of oil to make it easier to turn.
You may need to clean the chuck if the turning is still not clean. Use a clean cloth to remove dirt or debris from the chuck threads. If these solutions do not work, the chuck may be damaged and must be replaced.
Replacing A Damaged Or Worn Drill Bit
Over time, drill bits can become damaged or worn, affecting their performance. If you notice that your drill bit is not drilling as well as it used to or is visibly damaged, it is time to replace it.
First, turn off the drill and unplug it to replace a drill bit.
Then, loosen the chuck and remove the old bit. Insert the current bit into the chuck and tighten it using the chuck key. Ensure the new bit is the correct size and type for the material you will be drilling.
Additional Tips And Tricks

In addition to knowing how to put a drill bit in a drill, a few additional tips and tricks can help you get the most out of your drilling experience. Properly maintaining your drill and drill bits, learning techniques for drilling different materials, and storing your drill bits safely and effectively are all essential to ensure your drilling projects are successful.
Properly Maintaining Your Drill And Drill Bits
Proper maintenance of your drill and drill bits is crucial to longevity and performance. Here are some tips to help you keep them in top condition:
- Keep your drill clean: After each use, wipe down your drill with a clean, dry cloth to remove any dust or dirt that may have gathered.
- Check the chuck regularly: The chuck is the drill part that holds the drill bit in place. Make sure it is tight and secure before each use.
- Keep your drill bits sharp: Dull drill bits can cause damage to your drill and result in a less precise drilling experience. Use a sharpening stone or file to keep your bits sharp.
- Lubricate your drill and bits: Apply a small amount of oil or lubricant to the drill chuck and the drill bit to help reduce friction and extend their lifespan.
Techniques For Drilling Different Materials
Different materials require different techniques when drilling. Here are some tips for drilling through some common materials:
- Wood: Use a spade bit for larger holes and a twist for smaller ones. Drill slowly to avoid splintering.
- Metal: Use a cobalt drill bit and apply cutting oil to reduce heat and friction. Drill slowly to avoid overheating.
- Concrete: Use a masonry bit and a hammer drill for best results. Keep the drill bit cool with water or a cooling gel.
- Plastic: Use a twist bit and drill slowly to avoid melting the plastic.
Storing Drill Bits Safely And Effectively
Properly storing your drill bits will help prevent damage and ensure they are ready for use when you need them. Here are some tips for storing your drill bits:
- Keep them organized: Use a tool organizer or drawer to keep your drill bits easily accessible.
- Store them in a dry place: Moisture can also cause rust and damage to your drill bits, so store them in a dry place.
- Protect them from damage: Drill bits can be fragile, so protecting them from harm is essential. Use a case or foam insert to keep them from banging around and getting chipped or broken.
- Label them: Use a label or marker to identify the size and type of each drill bit. The title will make finding the right bit for the job easier and avoid confusion.
Conclusions (How To Put A Drill Bit In A Drill)
Inserting a drill bit in a drill is easy. Firstly, loosen the chuck by rotating it counterclockwise. Next, insert the bit into the chuck and tighten it by turning it clockwise. Use the chuck key to ensure a tight fit. Happy drilling!
We have gone through the step-by-step process of putting a drill bit in a drill. From selecting the right bit size to securing it in the chuck, we have covered all the essential details you need to know. By following these instructions, you can ensure that your drill bit is installed correctly and that your drill is ready to use.
Proper drill bit installation is crucial for achieving accurate and efficient results. Using the correct bit size or securing the bit can lead to various issues, including damage to your materials, reduced performance, and even safety hazards. By learning how to install a drill bit properly, you can avoid these problems and achieve better results in your drilling projects.
Whether you are a DIY enthusiast or a professional, knowing how to put a drill bit in a drill is essential. We hope this guide has given you the knowledge and confidence to tackle your next project quickly and precisely. Remember always to prioritize safety and take your time to ensure that your drill bit is installed correctly. Happy drilling!


