

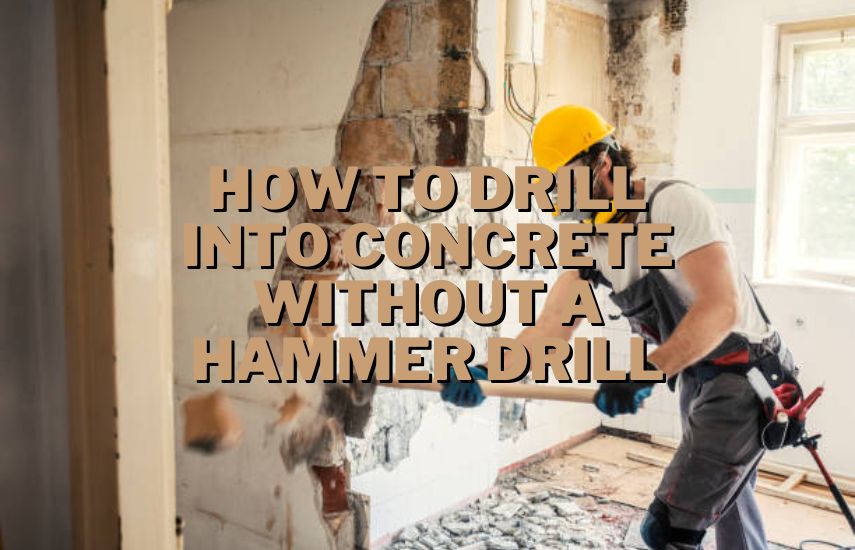
Drilling into concrete may seem daunting, especially if you don’t have a hammer drill. With the right tools, techniques, and patience, you can successfully drill into concrete without a hammer drill.
How To Drill Into Concrete Without A Hammer Drill? To drill into concrete without hammer drill, you can use alternative methods for example using a regular drill with a masonry drill bit, applying water to cool the bit and prevent overheating, using a rotary hammer drill, or employing manual tools like a hand drill or rotary tool.
In this blog, we will walk you through the step-by-step process of achieving this, ensuring you can complete your project effectively and efficiently.
Gather The Necessary Tools And Materials
Before you begin, you must ensure that you have all the necessary tools and materials ready. Here’s a detailed list of what you’ll need.
Masonry Drill Bits
These are specifically designed for drilling into concrete. They have a carbide or diamond tip that can withstand the hardness of concrete. Choose the appropriate size of drill bit based on the hole diameter you want to achieve.
Regular Drill
While a hammer drill is typically recommended for drilling into concrete, a high-quality regular drill can still be used for smaller drilling tasks. Remember that the drilling process may be slower and more challenging than using a hammer drill.
Safety Equipment
It’s crucial to prioritize safety when working with concrete. Wear safety glasses to safe your eyes from any flying refuse that may be generated during the drilling process. Wearing gloves will provide a firm grip on the tools and protect your hands.
Masking Tape
Using masking tape can help prevent the drill bit from slipping and provide a guide for accurate drilling. Apply the tape on the desired drilling spot, marking the exact location of the hole.
Dust Mask Or Respirator
Concrete dust can be harmful when inhaled, so protecting your lungs is essential. Wear a dust mask or respirator suitable for filtering out fine particles generated during drilling.
Mark The Drilling Spot
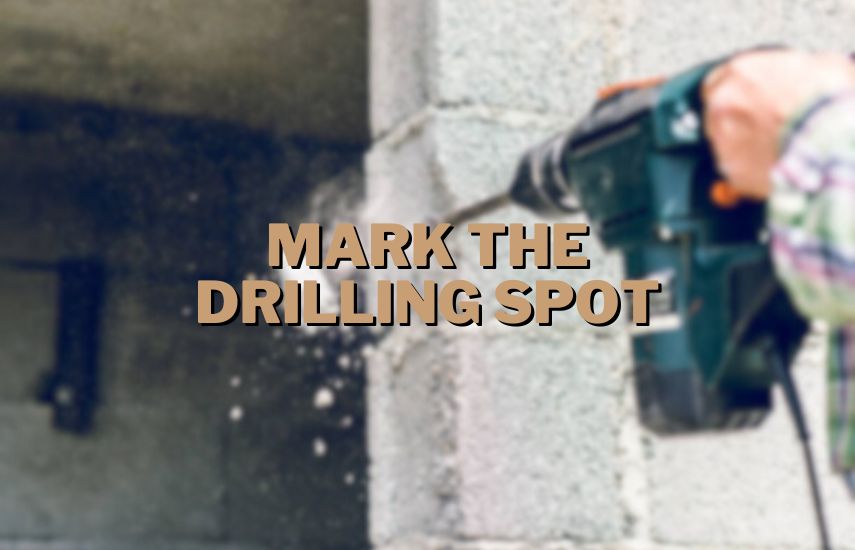
Identify the exact location where you need to drill and mark it with a pencil or a piece of masking tape. Ensure your marking is clearly visible and accurate to avoid unnecessary mistakes.
Prepare The Surface
Clean the area where you intend to drill. Remove any dust, dirt, or loose debris from the surface using a broom or brush. This will provide a clean and stable drilling surface.
Determine The Drilling Location
Carefully measure and determine the exact spot where you want to drill your hole. Use a tape ruler or measure to ensure accurate measurements. Consider any guidelines or markings you may have, such as construction plans or project specifications.
Mark The Spot
Once you have identified the drilling location, mark it using a pencil or a piece of masking tape. Make sure the marking is clearly visible and centered on the spot. If using masking tape, press it firmly onto the surface to prevent it from moving during the drilling process.
Double-Check The Marking
Take a moment to double-check the accuracy of your marking. Ensure that it aligns with your intended position and is level if necessary. A small mistake in marking can result in an off-center or misplaced hole.
Secure The Concrete Surface
To prevent the concrete from cracking or chipping during the drilling process, it’s crucial to secure it. Place a piece of scrap plywood beneath the drilling spot. This will provide support and prevent the concrete from breaking away.
Gather Materials
Prepare a piece of scrap wood or plywood that is larger than the area you’ll be drilling into. The thickness of the material should be sufficient to provide stability and support.
Position The Support Material
Place the scrap wood or plywood beneath the drilling spot. Make sure it is centered and fully covers the area where you’ll be drilling. The support material will distribute the pressure and provide stability to the concrete, reducing the risk of damage.
Secure The Support Material
Use clamps or weights to secure the support material in place if needed. This will ensure that it remains stationary during the drilling process. The objective is to create a stable base that will prevent the concrete from breaking away or cracking under the pressure exerted by the drill.
Consider Drilling Depth
If you’re drilling a deep hole, ensure that the support material extends beyond the drilling depth. This will provide continuous support throughout the drilling process, preventing any potential damage to the concrete.
You minimize the risk of cracks or chips by securing the concrete surface with a suitable support material, such as scrap wood or plywood.
The support material helps distribute the force applied by the drill, ensuring a more controlled and stable drilling process.
Prepare The Drill Bit
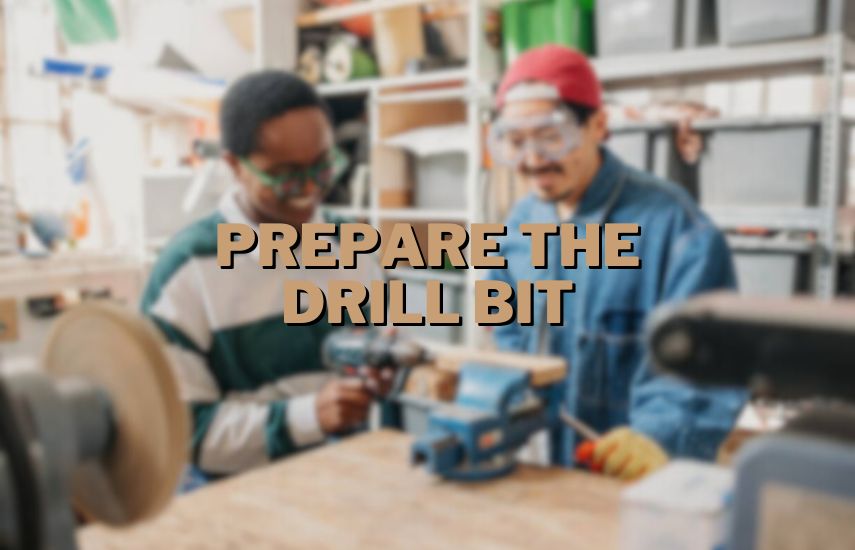
Insert the appropriate masonry drill bit into your regular drill. Ensure that the bit is securely tightened and aligned properly. If the bit is not the correct size, it may cause damage or break during drilling.
Select The Appropriate Drill Bit
Choose a masonry drill bit specifically designed for drilling into concrete. These drill bits are made with hardened steel and have a carbide or diamond tip for increased durability and cutting power.
The drill bit’s diameter should match the hole size you need to create. Using the wrong size bit can result in inefficiency, damage to the drill bit, or even damage to the concrete.
Insert The Drill Bit Into The Drill
With the drill turned off and unplugged, locate the chuck at the front of the drill. The chuck is the chunk that holds the drill bit in place.
Open the chuck by turning it counterclockwise to loosen it. Insert the stalk of the drill bit into the chuck until it reaches the jaws. Make sure the bit is fully inserted and centered.
Securely Tighten The Chuck
Tighten the chuck while holding the drill bit firmly in place by turning it clockwise. Use your hand to ensure a secure grip, and if necessary, use a chuck key or a tightening tool provided with your drill.
The chuck should grip the drill bit tightly, ensuring it won’t slip or wobble during drilling.
Align The Drill Bit Properly
Before starting the drilling process, ensure that the drill bit is aligned properly. It should be perpendicular to the concrete surface.
This alignment helps maintain stability and accuracy while drilling. Take a moment to double-check the alignment visually, or use a level if needed.
Check For Damage Or Wear
Inspect the drill bit for any signs of damage or wear. Look for chipped or dull cutting edges, as they can affect the efficiency and performance of the drill bit. If the drill bit is damaged or worn, replacing it with a new one is advisable to ensure optimal drilling results.
Set The Drill To The Correct Speed
Most regular drills have variable speed settings. Set the drill to a lower speed, as drilling at high speeds can cause the bit to overheat or wear out quickly. You can gradually increase the speed if needed.
Identify The Speed Settings
Most regular drills have variable speed settings. The speed control may be located on the top or side of the drill, and it is typically marked with numbers or symbols indicating the speed range.
Start With A Lower Speed
When drilling into concrete, beginning with a lower speed setting is recommended. This allows for better control and reduces the risk of overheating or prematurely wearing out the drill bit. Lower speeds provide more torque and allow the drill bit to penetrate the concrete gradually.
Gradually Increase The Speed If Needed
Depending on the hardness of the concrete and the progress of drilling, you may need to increase the drill speed gradually.
If the drill is bogging down or struggling to make progress, you can incrementally increase the speed to provide more cutting power.
It’s important to monitor the drill bit and the drilling process closely to prevent overheating or causing damage to the drill bit or the concrete.
Pay Attention To The Drill’s Capabilities
Regular drills may not have the same power as hammer drills or rotary hammer drills, so it’s important to be mindful of the drill’s limitations.
If the drill starts to strain excessively or show signs of overheating, pause the drilling process and allow the drill bit to cool down before continuing.
Adjust The Speed For Different Drilling Tasks
Depending on the size of the hole and the type of concrete you’re drilling into, you may need to adjust the drill speed accordingly.
For larger holes or denser concrete, slower speeds are generally recommended. Smaller holes or less dense concrete may allow for slightly higher speeds.
Begin Drilling
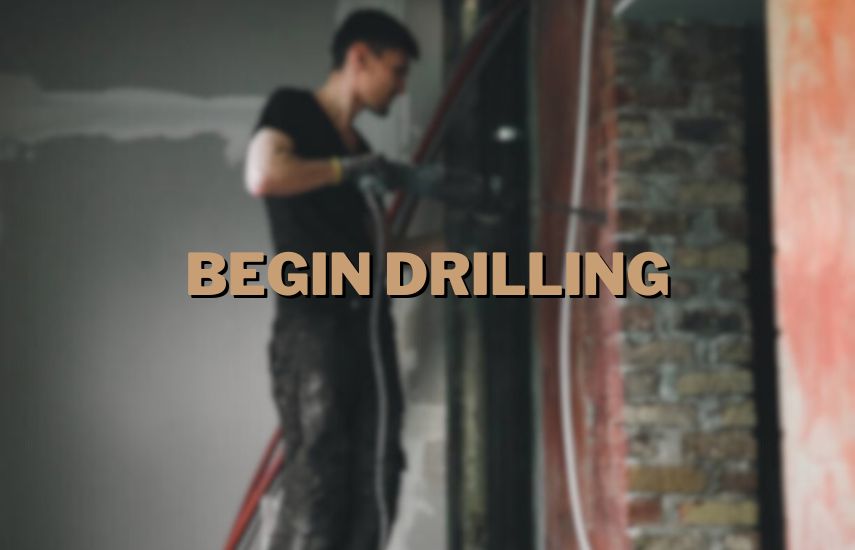
Hold the drill firmly with both hands, positioning it perpendicular to the concrete surface. Start the drill at a low speed and slowly increase the speed as the bit makes progress. Apply steady, even pressure while drilling. Let the drill do the work; don’t force it.
Secure Your Grip
Hold the drill firmly with both hands, maintaining a steady grip on the drill handle and the auxiliary handle if your drill has one.
This provides better control and stability during the drilling process. Make sure your stance is balanced and comfortable.
Position The Drill
Position the drill perpendicular to the concrete surface, aligning it with the marked drilling spot. This make sure that the hole will be drilled straight and in the desired location. Take a moment to double-check the alignment before starting the drill.
Start At A Slow Speed
Begin drilling at a slow speed to allow the drill bit to penetrate the concrete gradually. Slow speeds provide more torque and control, which is particularly important when drilling into tough materials like concrete. This also helps prevent the bit from overheating or wearing out prematurely.
Gradually Increase The Speed
As the drill bit makes progress into the concrete, you can gradually increase the drill speed if needed. Avoid going too fast, as it can reduce control and increase the risk of damaging the drill bit or the concrete surface.
Find the right balance between speed and control based on the density of the concrete and the size of the hole you’re drilling.
Apply Steady, Even Pressure
Apply consistent and steady pressure while drilling into the concrete. Let the drill do the work and avoid excessive force or pushing.
Applying too much pressure can strain the drill motor, slow down the drilling progress, or even break the drill bit. Maintain a steady hand and control the drill’s movement throughout the drilling process.
Cool The Drill Bit
To prevent overheating, periodically lift the drill bit out of the hole while it’s spinning to allow cool air to reach the bit.
This helps to dissipate heat and prolong the life of the drill bit. You can use water to cool the drill bit by lightly spraying or pouring it on the drilling spot.
Use Water As A Lubricant
To keep the drill bit cool, periodically apply water to the drilling area. You can use a spray bottle or have someone assist you by gently pouring water near the drill site. This will also help prolong the life of the drill bit.
Gather Water And A Container
Fill a spray bottle with water or have a container of water nearby. Ensure that the water source is easily accessible during the drilling process.
Position The Water Source
Place the water container or spray bottle close to the drilling area, within easy reach. This allows you to quickly and conveniently apply water to the drilling spot as needed.
Begin Drilling
As you start drilling, periodically apply water to the drilling area. This can be done by using the spray bottle to mist water onto the concrete surface near the drill site or by having someone assist you by gently pouring water onto the drilling spot.
Apply Water In Intervals
Rather than continuously spraying or pouring water, it’s best to use water in short intervals during the drilling process.
Pause drilling briefly, apply water to the drilling spot, and then resume drilling. This helps in cooling the drill bit and reducing dust without oversaturating the area.
Monitor The Water Usage
Pay attention to the amount of water being used and avoid excessive wetness, as it can affect the stability of the drill and the quality of the hole being drilled.
The goal is to provide enough water to cool the drill bit and minimize dust without creating a pool of water that may hinder the drilling process.
Take Breaks As Needed
If you notice the drill bit heating up or excessive dust being generated, take short breaks during the drilling process.
This allows the drill bit to cool down and the dust to settle. During these breaks, you can reapply water to the drilling area and ensure a more controlled drilling process.
Clear The Dust
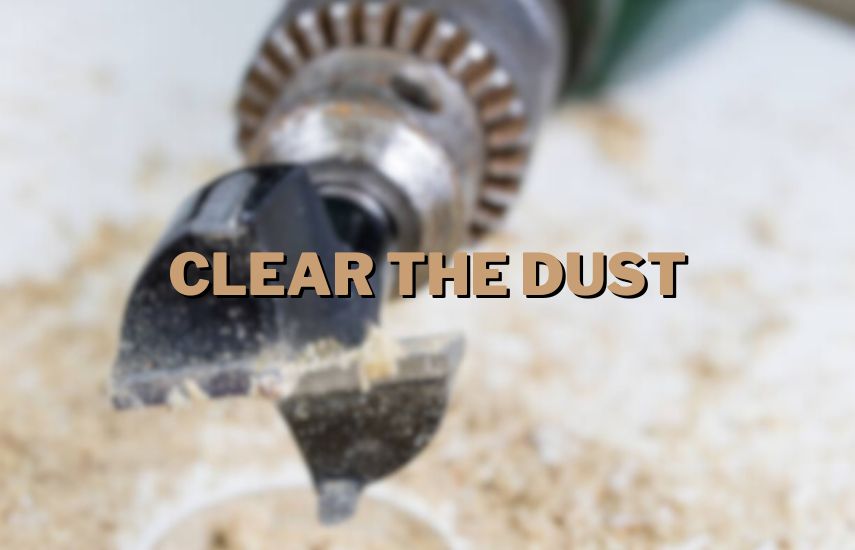
Pause drilling every few seconds to clear the accumulated dust. Use a brush to remove the dust from the hole. Clearing the dust will improve visibility and prevent it from obstructing the drilling process.
Pause Drilling
Every few seconds, pause the drilling process to give yourself time to clear the dust from the hole. This interval can vary depending on the size of the hole being drilled and the density of the concrete.
Choose A Cleaning Method
There are several methods you can use to clear the dust from the hole. The most common methods include using a brush, a vacuum cleaner, or a combination of both.
Vacuum Cleaner
If available, use a vacuum cleaner with a nozzle attachment to suction the dust from the hole. Position the nozzle close to the hole, ensuring a tight seal to maximize dust removal. Move the nozzle around the hole, covering all sides to thoroughly clear the dust.
Brush
Alternatively, use a stiff brush or a wire brush to manually brush away the dust from the hole. Gently rub the sides and bottom of the hole, removing as much dust as possible. Be careful not to apply excessive force that may damage the concrete or the drill bit.
Repeat As Necessary
Continue drilling, pausing every few seconds to clear the dust. Repeat the cleaning process until the hole is free of dust and debris. This ensures better visibility and prevents the dust from clogging the hole or impeding the drilling progress.
Dispose Of The Dust
Properly dispose of the collected dust to maintain a clean work area. Empty the vacuum cleaner or collect the brushed-off dust in a dustpan or container. Avoid dispersing the dust into the air, as concrete dust can be harmful when inhaled.
Monitor The Depth
When drilling into concrete, it’s important to monitor the depth of the hole to ensure it matches your desired specifications. This helps prevent drilling deeper than necessary and ensures accurate results.
Determine The Desired Depth
Before starting the drilling process, determine the desired depth of the hole. This can be based on the requirements of your project or the specific purpose of the hole. For precise depth control, it’s recommended to measure the desired depth on the drill bit itself.
Use A Depth Stop Attachment
Some drills have depth stop attachments available. These attachments allow you to set a specific depth for the drill bit to reach, preventing it from drilling beyond the desired point.
Refer to your drill’s user manual to see if it is compatible with a depth stop attachment and how to properly install and adjust it.
Mark The Drill Bit With Tape
An alternative method is to mark the drill bit with tape to indicate the desired depth. Measure and mark the desired depth on the drill bit using a piece of masking tape or a marker. The tape serves as a visual guide, allowing you to monitor the depth as you drill.
Continuously Check The Depth
As you drill into the concrete, periodically check the depth of the hole to ensure it aligns with the desired depth. This can be done by removing the drill bit from the hole and comparing the depth reached with the tape marking or the depth stop attachment.
Adjust Drilling If Needed
If you notice that the hole is approaching the desired depth, reduce the pressure and drilling speed to ensure you don’t go beyond the intended depth. Exercise caution and apply lighter pressure as you near the target depth to maintain control and accuracy.
Measure The Depth After Drilling
Once you have completed the drilling process, measure the actual depth of the hole to confirm that it matches your desired specifications. Use a ruler or a depth gauge to measure the depth accurately.
Finishing Up

After reaching the desired depth of the hole, it’s important to properly finish up the drilling process.
Withdraw The Drill Bit
Slowly withdraw the drill bit from the hole once you have reached the desired depth. Take your time to avoid any sudden movements that may cause damage or create unnecessary mess.
Clean The Surrounding Area
Once the drill bit is out of the hole, clean the surrounding area to remove any debris or dust. Use a brush, vacuum cleaner, or a combination of both to ensure a clean work environment. This will help prevent any interference or obstruction during subsequent work or installation processes.
Inspect The Drilled Hole
Take a moment to inspect the drilled hole for any irregularities or issues. Ensure that the hole meets your desired specifications in terms of depth, diameter, and overall quality. Make any necessary adjustments or corrections if required.
Dispose Of Debris Safely
Properly dispose of any debris, dust, or waste materials generated during the drilling process. Collect them in a dustpan or a suitable container and dispose of them in according to local regulations. Avoid dispersing the debris into the air or leaving it scattered around the work area.
Clean And Store Your Tools
After completing the drilling process, clean your drill and drill bit to remove any concrete residue. Use a damp cloth or a brush to wipe down the surfaces and ensure that they are free from debris. Properly store your tools in a safe and dry location, ready for future use.
Evaluate The Results
Take a step back and evaluate the results of your drilling work. Ensure that the hole meets your requirements and that it is ready for any subsequent steps, such as installing anchors, fasteners, or other fixtures.
Conclusion
A hammer drill is often considered the best tool for the job. If you don’t have access to a hammer drill, there are still ways to accomplish your drilling tasks using a regular drill. By following the guidelines, you can achieve successful results.
It’s important to remember that safety should always be a priority. Wear appropriate protective gear, such as gloves, to safeguard yourself from flying debris and potential hazards. Take breaks when needed to prevent fatigue and maintain focus throughout the drilling process.
While a regular drill may not have the same power and impact as a hammer drill, it can still be effective for smaller drilling tasks. By using the right tools and materials, such as masonry drill bits designed for concrete, you can enhance the drilling performance of your regular drill.


