


Studs are fundamental components of a wall’s framework, and their presence is critical to supporting and stabilizing the structure.
You can’t drill through a stud because it is a critical load-bearing component of a building’s frame. To avoid damaging the stud, use alternative methods such as anchors or drilling in non-load-bearing areas.
In this blog, we will explore why you can’t quickly drill through a stud, the importance of studs in construction, and some practical tips to work around this challenge.
What is a study, and why is it essential?
Studs are vertical framing members that constitute the primary support system for walls in buildings.
They are typically made of wood or metal and placed within the wall’s framework at regular intervals, usually 16 or 24 inches apart. Studs are essential for several reasons:
Definition Of Studs
Studs are vertical framing members that form an integral part of the construction of walls in buildings.
They are typically long, narrow pieces of wood or metal installed vertically between a wall’s framework’s top and bottom plates.
The distance between studs is usually standardized at 16 or 24 inches in the centre.
Load-Bearing Support
One of the primary functions of studs is to provide load-bearing support for the entire wall structure.
As a building’s weight is distributed downward, the studs act as columns, carrying the load from the roof, ceiling, and upper floors and transferring it to the foundation.
This load-bearing capability ensures that the building remains stable and secure.
Rigidity And Stability
Studs contribute significantly to the overall rigidity and stability of the wall.
They form a strong, interconnected framework that resists bending and twisting forces by interlocking with other framing components, such as the top and bottom plates, headers, and cripple studs.
This rigidity prevents the wall from sagging, bowing, or collapsing under its weight or external stresses like wind and seismic activity.
Attachment Points
Studs provide essential attachment points for various components that make up the wall.
For instance, drywall or sheetrock is typically attached to the studs using screws or nails, creating the visible interior surface of the wall.
Insulation materials are inserted between the studs to improve energy efficiency and regulate temperature.
Electrical boxes, plumbing lines, and other fixtures are securely anchored to the studs, ensuring they are correctly positioned within the wall cavity.
Regular Spacing
Studs are positioned at regular intervals, usually 16 or 24 inches apart, as part of standard building practices. This consistent spacing is essential for several reasons.
Firstly, it facilitates the installation of wall materials such as drywall, commonly manufactured in 4-foot-wide sheets.
Secondly, regular stud spacing ensures a more uniform distribution of loads, improving the overall strength and stability of the wall.
Importance During Construction
During construction, identifying the studs’ location accurately ensures the proper placement of wall components.
Builders use tools like stud finders, magnetic detectors, or visual clues to locate the studs behind the wall surface.
Care must be taken not to damage or compromise the structural integrity of the studs during construction, as this can affect the wall’s stability.
Avoiding Drilling through Studs
To maintain the integrity of load-bearing studs, it is essential to only drill through them with proper consideration.
Alternative methods, such as wall anchors or drilling in non-load-bearing areas, should be employed to hang items on walls or make holes for wiring and plumbing.
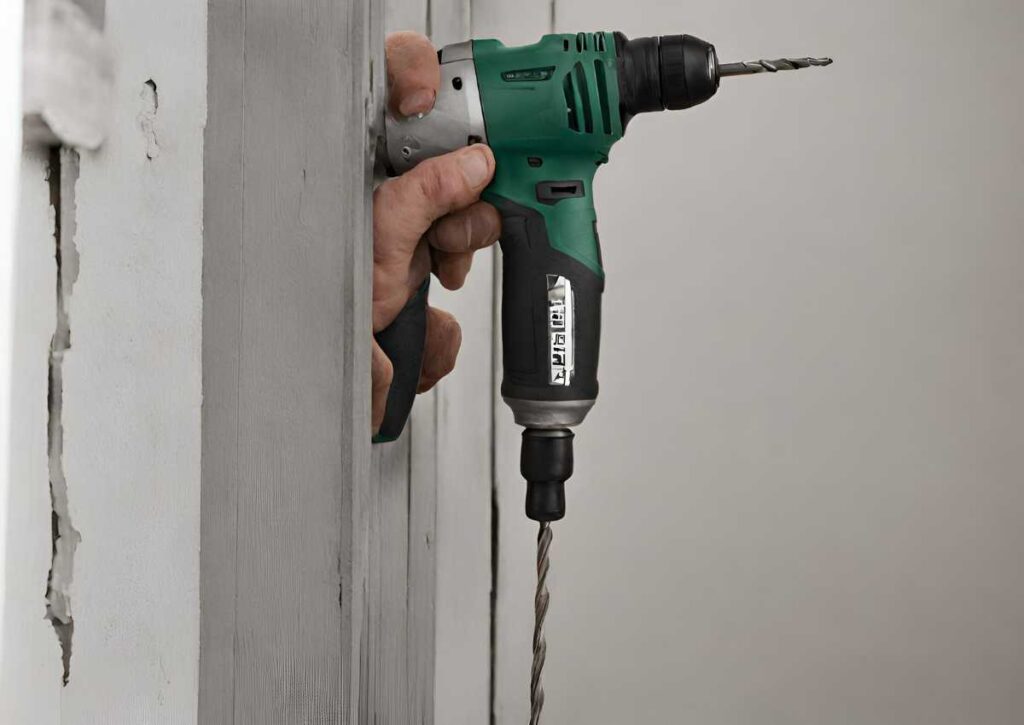
Why can’t I easily drill through a stud?

Wood Studs
Wood studs are a common choice for residential construction due to their availability, affordability, and ease of installation.
a) Density and Fibrous Nature: Wood studs are dense and composed of interlocking fibres. As a result, a regular drill bit might struggle to penetrate the wood easily.
b) Nails and Screws: Wood studs are typically attached to other framing elements or wall coverings using nails or screws during construction.
If you attempt to drill through a stud in an area already secured with nails or screws, the drill bit can deflect off these metal fasteners, making it harder to maintain a steady drilling path.
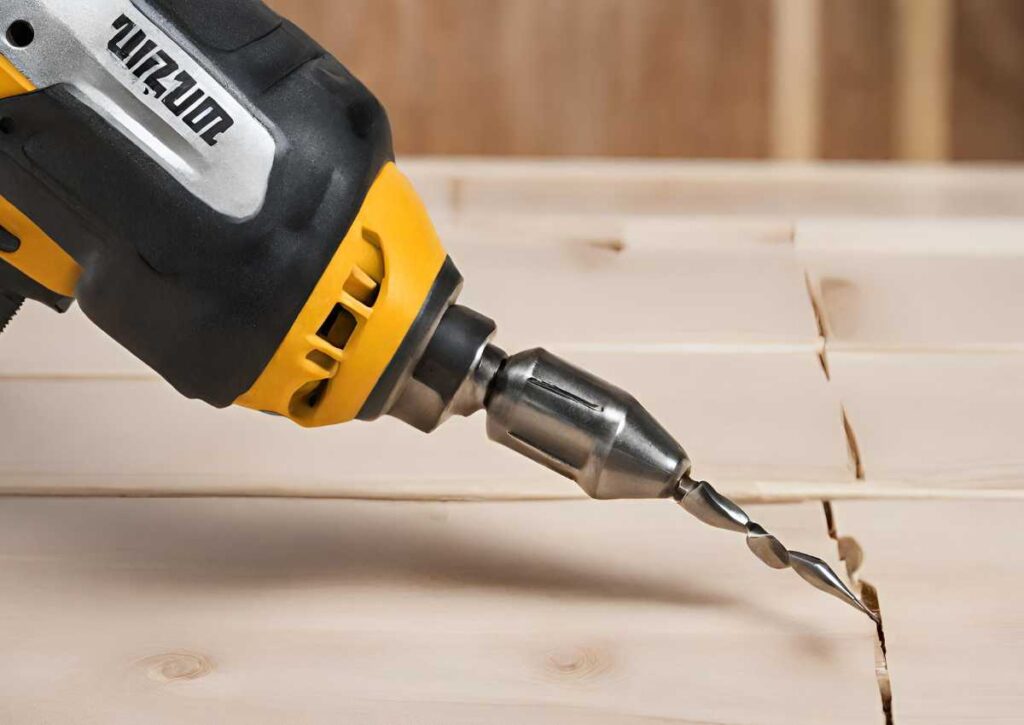
Metal Studs
Metal studs are an alternative to wood studs, commonly used in commercial construction and some residential applications.
While metal studs are lighter and more resistant to pests and fire, drilling through them can be challenging due to their unique properties:
a) Strength and Toughness: Metal studs are made of steel or other metals, giving them superior strength and toughness compared to wood studs.
Regular drill bits designed for wood are unsuitable for metal studs because they are not strong enough to cut through the metal effectively.
b) Metal-Cutting Drill Bits: Specialized metal-cutting drill bits are required to drill through metal studs.
These bits are designed with sharp points and flutes optimized for cutting through metal, allowing for more efficient drilling and minimizing the risk of breaking the bit.
Techniques And Precautions
When attempting to drill through either wood or metal studs, it’s essential to use the appropriate drill bit for the material and follow some basic techniques:
a) Use the Right Drill Bit: For wood studs, use a wood drill bit suitable for dense wood materials. Employ a metal-cutting drill bit made from materials like high-speed steel or cobalt for metal studs.
b) Pilot Holes: It could be beneficial to begin by employing a minor drill bit to establish a pilot hole before transitioning to the larger-sized bit.
A pilot hole helps guide the more significant bit, reducing the risk of the drill bit wandering or slipping off the desired drilling location.
c) Steady Pressure: Apply steady and consistent pressure while drilling. Avoid pushing too hard, as it may cause the drill bit to bind or break.
Let the drill bit do the work, and be patient, especially when drilling through metal studs.
d) Avoid Existing Fasteners: Before drilling, locate any existing nails or screws in the stud and try to drill in a different area to avoid deflection and potential damage to the drill bit.
How to Find a Stud Before Drilling
Before attempting to drill into a wall, locating the studs is essential to avoid damaging the structure or hitting electrical wires or plumbing behind the wall.
Here are some methods to find a stud:
Electronic Stud Finders
Electronic stud finders are widely used tools that make locating studs quick and precise. Follow these steps to use an electronic stud finder:
a) Choose the Right Mode: Some electronic stud finders have different modes for detecting studs. Select the appropriate mode for the wall material you are dealing with, such as drywall or plaster.
b) Calibrate the Device: Place the stud finder flat against the wall and follow the calibration instructions provided by the manufacturer. This step ensures accurate stud detection.
c) Slide the Stud Finder: Slowly move the stud finder horizontally across the wall. The device will beep or indicate on its display when it detects a stud’s edge. Mark the location for reference.
d) Verify the Stud’s Center: To ensure accuracy, slide the stud finder in the opposite direction and listen for another signal. The centre of the stud is usually marked, providing a more precise location for drilling.
Visual Clues
Visual clues can be helpful, especially if you don’t have an electronic stud finder. Follow these steps to identify studs visually:
a) Look for nail heads or dimples: Studs are typically installed at regular intervals, usually 16 or 24 inches apart.
Examine the wall’s surface for small dimples or nail heads, indicating where the drywall was fastened to the studs. These markings may be visible, especially if the wall is smooth.
b) Use a Flashlight: If the wall has a textured surface or the markings are not visible, use a flashlight at a low angle to cast shadows on the wall.
This may help reveal the locations of the studs and any irregularities in the wall surface.
Knocking Technique
The knocking technique is a simple, traditional method for finding studs. Follow these steps to use the knocking process:
a) Gently Tap the Wall: Use your knuckles or a small rubber mallet to tap the wall. Listen for differences in sound as you move across the wall.
b) Identify Studs: A hollow sound indicates the presence of space between studs, while a solid and less resonant sound indicates hitting a stud.
This method requires some practice, as it may be less precise than an electronic stud finder.
Combination Method
To increase accuracy, you can use a combination of these methods.
For example, you can use an electronic stud finder to locate studs more precisely and verify the findings with visual clues or the knocking technique.
How to Drill Near or Through a Stud
Consider these strategies if your project requires drilling near or through a stud.
Avoiding The Stud
Try to adjust your drilling location to avoid the stud completely whenever possible. This can be achieved by marking the stud’s location and shifting your drilling point slightly to the left or right.
Alternatively, consider using anchors or other fastening methods in adjacent areas that do not intersect with the stud’s position if the project allows.
Pre-Drill A Pilot Hole
To make drilling near or through a stud easier, create a smaller pilot hole. Follow these steps.
a) Mark the Drilling Location: Determine where to drill and mark it with a pencil or tape.
b) Choose a Smaller Drill Bit: Select a drill bit with a diameter smaller than the final hole size you require. Using a minor bit will facilitate the creation of a pilot hole without the need for excessive force.
c) Drill the Pilot Hole: Place the drill bit in the marked location and drill slowly into the wall. The pilot hole should be shallow but deep enough to guide the more significant bit through the stud without wandering off course.
Use the Right Drill Bit
Choosing the appropriate drill bit is essential for successful drilling near or through a stud. Follow these guidelines:
a) Wood Studs: When drilling through wood studs, use high-quality, sharp wood drill bits designed for dense wood materials.
b) Metal Studs: Using specialized metal-cutting drill bits for drilling through metal studs. These bits are designed with a higher hardness and can cut through tougher metal materials.
Slow And Steady Drilling
Once you are ready to drill near or through the stud, follow these steps for a smooth and controlled drilling process:
a) Apply steady pressure: Apply steady and consistent pressure while drilling. Avoid pushing too hard, as it may cause the drill bit to bind or break.
Let the drill bit do the work, and be patient as you progress.
b) Avoid overheating: Continuous and high-speed drilling can cause the drill bit to overheat. Drill in short bursts to prevent this, allowing the bit to cool down between drilling intervals.
c) Use Lubrication (For Metal Studs): Consider using a lubricant like cutting oil or a lubricating spray when drilling through metal studs.
This reduces friction, extends the life of the drill bit, and facilitates smoother drilling.
Check For Plumbing And Wiring
Before drilling near or through a stud:
- Be cautious about potential hidden wiring, plumbing, or electrical lines in the wall.
- Use a stud finder or other methods to detect any hazards behind the wall surface.
- If you need more clarification, consult a professional to ensure a safe drilling process.
Conclusion
Studs are:
- The backbone of wall construction.
- Providing essential load-bearing support.
- Rigidity.
- Attachment points for various wall components.
As such, drilling through a stud requires careful consideration and proper techniques to avoid compromising the wall’s structural integrity.
Understanding the significance of studs and the potential consequences of mishandling them is essential for a successful home improvement project.
Tools and abilities are needed to drill near or through studs. For safety and efficiency, use electronic stud finders, visible indications, or banging before drilling.
Pilot holes prevent drill bit wandering and increase efficiency. Selecting the right wood or metal drill bit is crucial.
Wood or metal-cutting drill bits must be sharp to avoid breaking studs or bits. Slow drilling prevents drill bit overheating and ensures accuracy.
Always prioritize DIY safety. Check the wiring, pipes, and electrical connections under the wall before drilling. Check with a professional to ensure drilling safety.
Building maintenance shows smart house renovation. Stud awareness and safeguards help DIYers achieve their goals while protecting their houses.
Understanding their role in wall building and using the right tools and methods lets you drill through studs. The construction of the framework makes DIY projects safer and easier.
Homeowners may DIY while preserving their foundations with patience and forethought. Patient drillers rejoice!
FAQs
Why can’t I just drill through a stud in my wall?
Studs are crucial for wall stability, so drilling through them weakens the structure and can cause damage.
What happens if I drill into a stud?
Drilling into a stud compromises its strength, affecting the wall’s ability to support heavy items or fixtures.
Can’t I just use longer screws to go through a stud?
While longer screws might reach through the stud, they still weaken its structure and risk damaging the wall.
Why is it important to locate studs before drilling?
Finding studs helps avoid damaging them and maintains the wall’s integrity for secure installations.
Are there alternatives to drilling through studs?
Yes, using anchors or special mounting hardware designed for drywall can offer secure installations without damaging studs.
Also Read
What Size Drill Bit For 10 Screw
MrBeast Drill 100 Wells Around Africa


