


Are you tired of drilling crooked holes in your walls when trying to hang up shelves, pictures, or other decorations? Don’t worry; you’re not alone! Achieving straight and precise holes can be a bit tricky, but fear not, because we’ve got you covered. In this easy-to-follow guide, we’ll walk you through the simple steps to ensure that your next drilling project results in perfectly straight holes.
How To Drill Straight Holes In Walls? Mark your spot accurately, choose the right bit, and hold your drill steady. Drill slowly, applying consistent pressure, and use a level to check straightness as you go. That’s the key to drilling straight holes in a wall.
Whether you’re a seasoned DIY enthusiast or a complete beginner, learning how to drill straight holes is a valuable skill that will save you time and frustration in your home improvement projects. With the right techniques and a few handy tips, you’ll be able to tackle any drilling task with confidence. So, grab your drill and let’s get started on the path to perfectly straight holes in your walls!
The Basics of Drilling Straight Holes
Drilling straight holes in a wall may seem daunting, but with a few key steps, you can achieve precision and accuracy in your DIY projects. Here, we’ll explore the fundamentals of drilling straight holes to ensure your work is both functional and visually appealing.
Mark Your Target
Before grabbing your drill, mark the exact spot where you want the hole. Use a pencil or masking tape for clear visibility. If you need multiple holes, measure and mark them with a level to maintain straight lines.
Choose the Right Bit
Selecting the appropriate drill bit is crucial. Ensure it matches the size and material of your project. For instance, wood and masonry require different bits. A mismatched bit can lead to uneven holes.
Secure Your Drill
Tighten the chosen bit securely in your drill. A loose bit can cause wobbling during drilling, leading to crooked holes. Make sure it’s snug and in line with the drill’s chuck.
Maintain Perpendicularity
Hold the drill perpendicular to the wall’s surface. This means keeping it at a 90-degree angle. Using a spirit level or a level app on your smartphone can help you maintain this angle throughout the drilling process.
Steady and Controlled Drilling
Start drilling at a slow and controlled pace. Apply consistent pressure without forcing the drill. Let the drill do the work, especially in harder materials like concrete. Monitor your progress and adjust as needed to keep the hole straight.
Drilling Straight Holes in Drywall
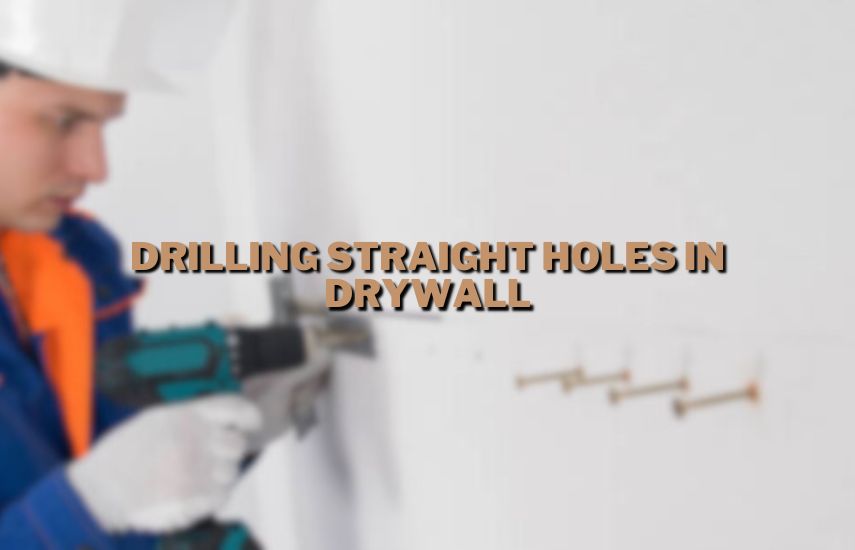
When it comes to working with drywall, drilling straight holes is essential for a neat and professional-looking finish. Whether you’re hanging a picture frame or installing shelves, these steps will guide you through the process of drilling straight holes in drywall.
Mark Your Target
Start by marking the precise spot where you want the hole. Use a pencil or masking tape for clear visibility. If you’re making multiple holes, use a level to ensure they align correctly, especially for things like shelving brackets.
Choose the Right Bit
Select a drill bit that matches the size of the anchor or screw you plan to use. For drywall, a regular twist bit will do. Be mindful of the bit’s size to avoid making unnecessarily large holes.
Secure Your Drill
Make sure your drill bit is securely fastened in your drill’s chuck. A loose bit can result in wobbly holes. Ensure it’s snug and aligned correctly.
Maintain a Steady Angle
Hold the drill perpendicular to the drywall surface. This means keeping it at a 90-degree angle. To help, use a spirit level or a level app on your phone to keep the drill level as you work.
Start Drilling Slowly
Begin drilling at a slow and controlled pace. Don’t rush it. Apply consistent, gentle pressure on the drill, letting it do the work for you. Drywall is relatively soft, so avoid excessive force, which can cause damage.
Drilling Straight Holes in Brick or Concrete Walls
Drilling into brick or concrete walls can be a bit more challenging than working with drywall, but with the right approach, you can achieve straight holes and a secure result. Here’s a guide with five essential steps to help you get it right.
Mark Your Target Precisely
Start by marking the exact spot where you want to drill. Use a pencil or masking tape for clarity. If drilling multiple holes, use a level to ensure they align correctly, maintaining a straight line.
Choose the Right Masonry Bit
Select a masonry bit designed for brick or concrete. These bits have a carbide tip that can handle tough materials. Ensure the bit size matches your anchor or screw diameter.
Secure Your Drill and Wear Safety Gear
Tighten the masonry bit securely in your drill’s chuck. Safety is crucial when working with hard materials, so wear safety goggles to protect your eyes and a dust mask to prevent inhaling debris.
Maintain a 90-Degree Angle
Hold the drill perpendicular to the brick or concrete surface. A 90-degree angle ensures your holes will be straight. Use a spirit level or a level app on your phone to help you keep the drill level as you work.
Drill Slowly and Steadily
Begin drilling at a slow and controlled pace. Apply consistent, firm pressure on the drill. Allow the bit to do the work; don’t force it. Drilling into brick or concrete may take longer than other materials, but patience and a steady hand will yield straight and clean holes.
Drilling Straight Holes in Wood
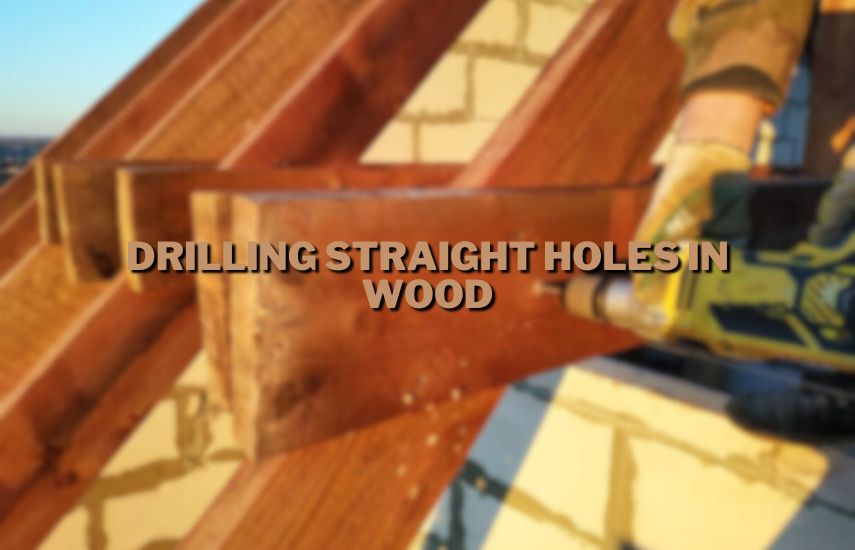
Working with wood is a common DIY task, and drilling straight holes is essential for ensuring your projects come out looking clean and professional.
Mark Your Target Precisely
Start by marking the exact spot on the wood where you want to drill. A pencil or masking tape works well for clear visibility. If drilling multiple holes, use a straight edge or a square to maintain a straight line.
Choose the Right Wood Bit
Select a wood bit that matches the size of the hole you need. Wood bits have a sharp, pointed tip for easy penetration into wood. Ensure the bit is sharp and free from damage.
Secure Your Drill and Wear Safety Gear
Tighten the wood bit securely in your drill’s chuck. Safety first! Wear safety goggles to protect your eyes from wood chips and debris. A dust mask can also help if you’re working with treated or dusty wood.
Maintain a 90-Degree Angle
Hold the drill perpendicular to the wood surface. A 90-degree angle ensures your holes will be straight. Using a square or a level can help you keep the drill aligned correctly as you work.
Drill Slowly
Begin drilling at a slow, controlled pace. Apply steady pressure on the drill, allowing the bit to do the work. Avoid forcing the bit through the wood, as this can lead to splintering. A steady hand and patience will yield clean and straight holes in wood.
Using a Drill Guide to Drill Straight Holes
Drilling straight holes is a fundamental skill in DIY projects, and a drill guide can be a valuable tool to help you achieve precision and accuracy. Here, we’ll explore how to use a drill guide effectively with five key steps.
Select the Right Drill Guide
Begin by choosing a drill guide that suits your needs. There are various types available, including handheld guides and bench-mounted guides. Ensure it’s compatible with your drill and the materials you’ll be working with.
Mark Your Hole Location
Mark the exact spot on your workpiece where you want the hole. Use a pencil or masking tape for clarity. If you need multiple holes, use the drill guide’s built-in measuring features to maintain even spacing.
Secure the Workpiece
Place your workpiece securely on a stable surface, like a workbench. Ensure it won’t move during drilling. Some drill guides come with clamps or vices to hold the workpiece firmly in place.
Set the Depth and Angle
Adjust the drill guide to the desired depth and angle for your hole. Many guides have depth stops and angle adjustments to ensure precise drilling. Follow the guide’s instructions for these adjustments.
Drill Slowly and Steadily
With the drill bit secured in the guide, start drilling at a slow and controlled pace. Apply even pressure, and let the guide maintain the correct angle. The drill guide will help you maintain straight holes with minimal effort.
Conclusion (How To Drill Straight Holes In Walls)
To drill straight holes in a wall, mark your spot accurately, choose the right bit, and drill steadily at a perpendicular angle. Use a level to check alignment as you go for precision.
Mastering the art of drilling straight holes in walls is a valuable skill for any DIY enthusiast. By carefully marking your target, choosing the right drill bit, securing your drill, maintaining the correct angle, and drilling slowly and steadily, you can achieve professional-looking results in your projects.
Whether you’re working with drywall, wood, or tougher materials like brick or concrete, following these fundamental steps will help you create straight and precise holes. Remember, practice and patience are key, and with time, you’ll become a pro at drilling straight holes for all your home improvement needs.


