


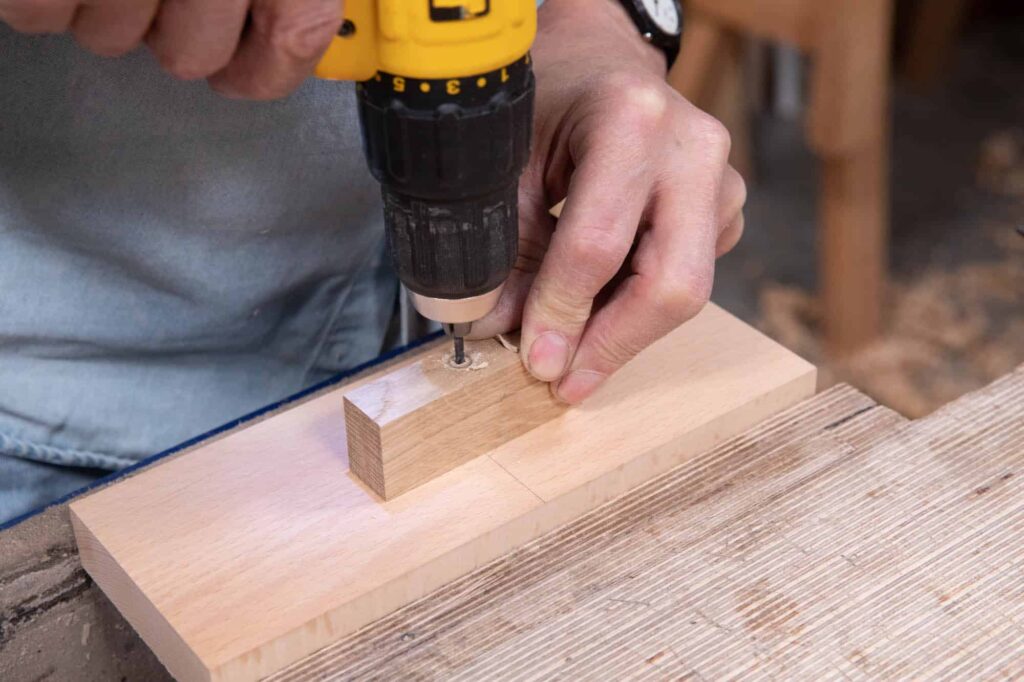
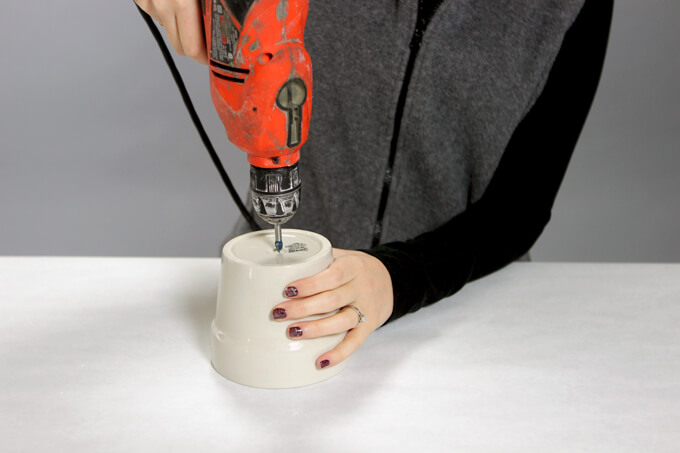
When you’re deep into drilling, one crucial skill you’ll often need is drilling holes accurately. It’s not just about creating holes but about making sure they’re straight and precise.
To drill a straight hole, follow these steps. Use the right tools, secure your workpiece, and maintain precision throughout. Achieving straight holes is easy with this method.
Achieving that flawlessly straight hole is an essential ability, regardless of experience level in woodworking. Together, let’s navigate the processes and make this procedure simple and clear.
Let’s Start with the Basics
Before diving into the nitty-gritty, let’s gather what we’ll need for this task:
Materials You’ll Need
Let’s talk steel square tubing – it’s not just for structures but plays a pivotal role in ensuring your drilling stays perfectly straight.
The Essential Tools
Here are your go-to buddies:
- Hacksaw: This is your cutting magician for the steel square tubing.
- Clamps or a Homemade Vise: These are like the loyal guardians, ensuring your workpiece stays stable while you drill.
- Speed/Try Square: Your right-angle checker, crucial for maintaining precision.
- Drill & Drill Bits: The stars of the show, for they’ll be creating those beautiful holes for you.
The Step-by-Step Journey
1. Preparation is Essential
Start by picking the appropriate drill bit for the job. Ensure it suits the material and the hole’s size. Secure the material using clamps or a vise to maintain stability during drilling.
2. Crafting a Guide
To drill a straight hole, create a guide by cutting the steel square tubing slightly longer than the drill bit. This guide will assist in keeping the drill perpendicular to the surface, ensuring a straight hole.
3. Aligning the Guide
Place the guide flush against the material. Utilize the speed/try square to ensure that the guide is perfectly perpendicular. Secure the guide firmly in place using clamps or by holding it tightly.
4. Drilling Carefully
With the guide securely aligned, start drilling. Keep a firm grip on the drill, ensuring it stays parallel to the guide throughout the process. Apply consistent pressure and maintain a moderate drilling speed.
5. Periodic Progress Checks
Pause intermittently to review the hole’s progress. Remove the drill to clear debris and prevent bit binding. This also allows you to verify if the drilling maintains a straight path.
6. Final Inspection
Upon reaching the desired depth, remove the drill carefully. Inspect the hole and employ the speed/try square to verify its perpendicularity. If adjustments are necessary, use finer tools to refine the hole.
Tips for a Successful Journey
- Practice Makes Perfect: Before you dive into your actual project, practice on scrap pieces. This way, you can fine-tune your technique without any pressure.
- Sharp Bits are Happy Bits: Dull bits can make your drill wander off course. Keep your drill bits sharp for that precision touch.
- Patience is the Virtue: Rushing through can lead to mistakes. Take your time, and the result will reflect your patience.
Drilling a straight hole calls for attention to detail and precision, but with the right tools and technique, it’s an attainable skill for every woodworking enthusiast.
Keep following these steps and practicing consistently. You’ll soon be creating those perfect, straight holes with ease, amplifying the quality of your woodworking projects.
Additional Tips and Tricks to drill a Straight Holes
Using an Old CD: A Surprising Helper
Have an old CD lying around? It can be repurposed as a guide to help drill straight holes. Place the CD under your drill to maintain a level surface, allowing for a more accurate drill.
Portable Drill Tips for 90° Holes
Have you ever wondered how to drill a 90° hole with a portable drill? Using a jig or a drilling board can be immensely helpful.
These tools help create a guide and maintain precision, making it easier to achieve that perfect 90° hole angle.
Exploring Alternatives
If you’re out of the usual tools, get creative! Consider using a wood block as a guide or exploring drywall anchors as makeshift clamps to stabilize your work surface. Every carpenter knows – innovation knows no bounds.
Making the Most of Your Toolbox
Your toolbox is a treasure trove. Consider attachments designed to maintain 90° angles. Companies like Big Gator Tools have innovative tools that can assist in creating straight holes effortlessly.
Remember, it’s not just about the tools but about how you use them. While a drill press is a fantastic tool for accuracy, your handheld drill can also achieve exceptional precision with the right technique.
Woodworking is a craft that rewards patience and technique. Embrace the learning process and remember, even the pros started as beginners.
Keep practicing, keep exploring, and your woodworking endeavors will shine with precision and finesse.
Conclusion
Mastering precise hole drilling in woodworking is crucial for all skill levels. By using the right tools and following a step-by-step process—prepare, craft a guide, align accurately, and drill carefully with periodic checks—you can achieve accuracy.
Patience, practice, and attention to detail are key. Exploring alternative tools and techniques can also assist in creating perfect holes.
Remember, woodworking rewards patience and practice, allowing anyone to achieve precision and finesse in their projects.
FAQs
What drill bit should I use for wood?
For wood, use brad-point drill bits. They have a sharp tip for accurate starting and clean, precise holes in wood.
How do I stop the wood from splintering when drilling?
To prevent splintering, place masking tape over the area where you plan to drill. This helps the wood fibers stay intact.
How can I ensure the hole is straight?
Use a square as a guide or create a template by drilling a pilot hole. This ensures the drill stays perpendicular, making the hole straight.
What should I do if the drill gets stuck in the wood?
If the drill gets stuck, don’t force it. Instead, reverse the drill slowly to remove it. Clear wood chips and try drilling at a slower speed.
How do I choose the right drill speed?
For wood, a moderate speed works best. Too fast can cause overheating and burn marks, while too slow can lead to splintering. Experiment on scrap wood to find the ideal speed.


