

Drilling into ceramic tile might seem intimidating, but with the right approach and tools like the rotary drill and carbide bits, you’ll breeze through without a cracked tile in sight.
Tiles in the bathroom, around bathtubs, or even in your DIY home projects often demand a bit of drilling finesse.
Successfully mounting accessories like towel racks or showerheads requires precision without damaging the tile or the wall behind it.
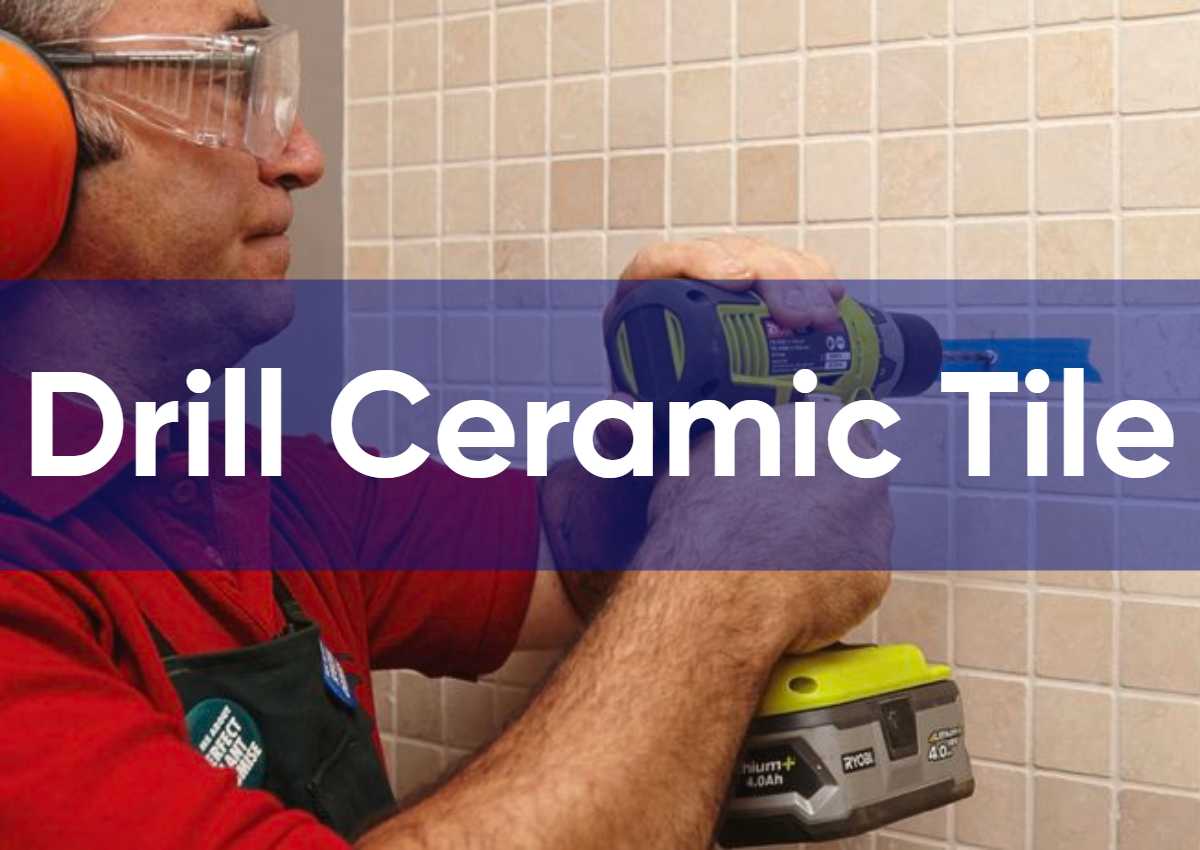
To drill ceramic tiles, utilize a rotary drill equipped with a carbide-tipped bit. First, mark the designated spot, then drill gradually with steady pressure, employing water to cool the bit. This method ensures a seamless, crack-free hole in the tile.
Whether you’re a seasoned tile professional or a curious do-it-yourselfer, this guide is here to walk you through.
You, me, or anyone can avoid the panic of a potential cracked tile with these foolproof tips. Let’s dive into the easy art of drilling ceramic tiles for a flawlessly finished project.
Understanding Your Tile And Tools
Step 1: Identifying Your Tile
Before diving into drilling, understanding the specific type of tile you’re working with is crucial. Whether it’s ceramic, porcelain, or natural stone, each type has different hardness levels that directly impact the drilling technique and choice of tools you’ll need.
Step 2: Selecting the Right Bit
Not all drill bits are equal, especially when it comes to ceramic tiles. Opt for carbide- or diamond-tip drill bits tailored for ceramic surfaces.
These specialized bits are designed to penetrate the hard surface without causing cracks or damage.
Step 3: Strategizing Your Approach
Before drilling, careful planning is essential. Use painter’s tape to mark the precise spot where you intend to drill.
This step not only prevents the drill bit from slipping but also serves as a guide for accurate and controlled drilling.
The Drilling Process
Step 4: Slow and Steady Progress
Initiate drilling at a slow speed to mitigate the risk of the tile cracking. Gradually apply gentle and consistent pressure to gradually create the necessary hole without compromising the integrity of the tile.
Step 5: Gradual Speed Increase
As you make progress through the surface, consider a slow and incremental increase in drilling speed. Doing so carefully helps prevent overheating and guarantees a smoother, controlled finish while drilling through ceramic tiles.
Safety First And Necessary Tools

Prioritizing safety when drilling through ceramic tiles is essential:
- Always don safety glasses and a dust mask to shield your eyes and lungs from debris generated during drilling. This protective gear is crucial for safeguarding yourself while working on ceramic tiles.
- Ensure the work area is both clean and dry to minimize the risk of accidents. A clutter-free and dry environment provides a safer workspace, reducing the chances of slips or mishaps while drilling into ceramic tiles.
Best Drill Bits For Ceramic Tiles?
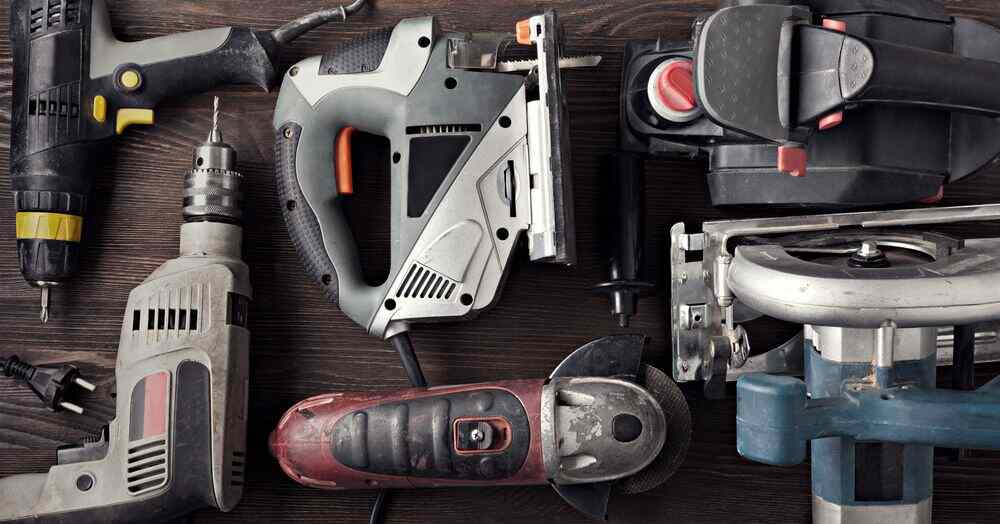
To ensure success in drilling ceramic tiles, it’s important to use the right tools. Carbide or diamond-tipped drill bits are your best buddies for handling these tough tile surfaces. They’re sturdy and can handle the job without losing their sharpness.
Exploring Alternate Techniques for Drilling Large Holes in Tile
- Start by outlining the desired hole on the tile’s surface using a felt-tip pen or a grease pencil.
- Utilize a ¼-inch masonry bit to generate a series of closely-spaced holes around the marked circle. Then, lightly tap the tile with a hammer along this ring of holes.
- Gently tap inside the outlined circle and exercise patience. It might take a few minutes before the center breaks free to create the hole. Expect a slightly uneven edge, which can be hidden with a decorative escutcheon plate.
- This drill-and-tap method isn’t confined to circular holes only; it’s adaptable for creating square or rectangular cutouts in tiles as well.
when to seek professional assistance
While most do-it-yourselfers can manage smaller tile holes using a spiral-thread bit, drilling larger holes with a hole saw presents challenges.
Especially in the critical space of a shower or bathtub tile surround, drilling a larger hole demands precision and accuracy.
The margin for error in such situations is often quite slim. Therefore, when tackling the task of drilling large holes in tile, particularly in settings where there’s no room for mistakes, considering the expertise of a tile professional could be highly advantageous.
Their specialized skills ensure precise and accurate handling, especially in demanding environments such as shower or bathtub tile surrounds.
Conclusion
Concluding the journey of drilling ceramic tiles is to embrace the artistry and precision of a flawless finish.
Armed with the knowledge gleaned from this comprehensive guide, tackling ceramic tiles no longer feels daunting.
Whether you’re a seasoned professional or a curious DIY enthusiast, the steps provided arm you with the confidence to venture into the world of tile drilling without the fear of cracks or mishaps.
The essential safety reminders, choice of tools, and step-by-step approaches ensure a successful outcome.
However, for intricate tasks like drilling larger holes in challenging areas such as shower or bathtub tile surrounds, entrusting a skilled tile professional guarantees accuracy and finesse where margins for error are slim.
Now, equipped with these foolproof techniques, you’re poised to achieve flawlessly drilled ceramic tiles, elevating your home projects to a new level of expertise and finesse.
FAQs
Do you need water to drill ceramic tile?
Yes, using water while drilling through ceramic tile can be quite helpful. It serves to cool down the drill bit and decrease friction, which prevents overheating and ensures a smoother drilling process. This is especially crucial when using diamond-tipped bits, helping to sustain their effectiveness.
Should you drill a pilot hole in ceramic tile?
It’s advisable to create a pilot hole in ceramic tile, particularly when using larger drill bits. The pilot hole acts as a guide, allowing for enhanced precision and accuracy when starting with a smaller hole before progressing to the desired larger size.
How can you tell if a tile is ceramic or porcelain?
There are a few simple ways to distinguish between ceramic and porcelain tiles. One method involves examining the tile’s edge; if it maintains consistent coloring throughout, it’s likely porcelain.
Additionally, porcelain tiles typically display a more uniform appearance compared to ceramic tiles, which might have a glazed finish. Moreover, porcelain tiles tend to be denser and less porous than ceramic tiles.
Also Read
First Electric Drill Inventor | All You Need To Know
How To Drill Through Hardened Steel | Easy Steps | Ultimate Guide


