

If you’re a plant lover, you know that finding the perfect pot can be just as important as finding the perfect plant. But what do you do if you find the perfect pot but it does not have a hole for drainage?
To drill a hole in a ceramic pot without damaging it, follow these steps:
- Gather materials: ceramic pot, drill, ceramic/glass drill bit, masking tape, water, and safety gear.
- Mark the drilling spot with masking tape.
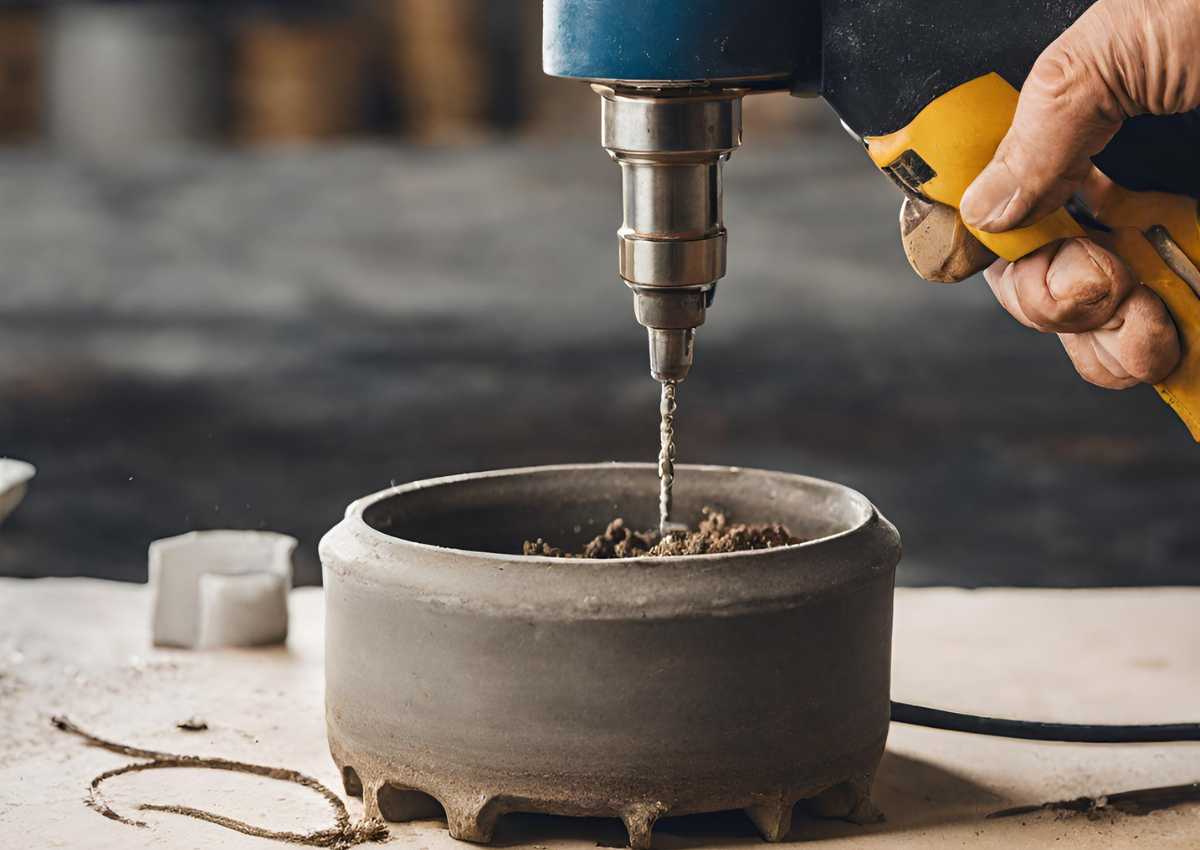
- Keep the pot and drill bit wet while drilling to prevent cracks.
- Use low-speed and gentle pressure.
- Remove the tape and clean the pot.
Learning how to drill a hole in a ceramic pot is an easy and essential skill for any green thumb.
In this blog, we’ll guide you through the steps to ensure that your plant’s home has proper drainage and that your greenery can thrive for years to come.
Choosing the Right Ceramic Pot
When it comes to gardening, ceramic pots are a popular choice for both their aesthetic appeal and functionality.
They can add a touch of elegance and sophistication to any outdoor or indoor space, and they are perfect for growing a variety of plants.
Drilling a hole in a ceramic pot can be a daunting task for those who are new to gardening or DIY projects.
Choosing the right ceramic pot is the first step in ensuring that the drilling process is successful.
Evaluating the thickness and quality of the pot
When drilling a hole in a ceramic pot, it’s important to evaluate the thickness and quality of the pot before attempting to drill.
If the pot is too thin or not very good, it could crack or break while being drilled.
To ensure a successful outcome, it’s recommended to choose a pot that is at least 1/4 inch thick and made from high-quality ceramic materials.
Inspect the pot for any cracks or defects that may compromise its structural integrity.
By carefully evaluating the thickness and quality of the ceramic pot, you can minimize the risk of damage and increase your chances of drilling a clean and precise hole.
Identifying safe areas for drilling
When drilling a hole in a ceramic pot, it is essential to identify safe areas for drilling to avoid cracking or damaging the pot.
Look for areas of the pot where the ceramic is thicker and more solid, such as near the base or where the pot curves.
Avoid drilling near any decorative elements or areas where the ceramic appears thinner or more delicate.
By identifying safe areas for drilling, you can successfully create a hole in your ceramic pot without compromising its structural integrity.
Selecting the appropriate pot size and shape for your project
When selecting a ceramic pot for your drilling project, it is essential to consider the appropriate size and shape that will fit your needs.
The size of the pot should accommodate the plant you intend to place in it and leave enough room for proper drainage.
The shape of the pot will also affect the ease of drilling and the final look of the project. For instance, a tall and narrow pot may be more challenging to drill compared to a wide and short one.
Therefore, selecting the right size and shape will help you achieve a successful drilling project on a ceramic pot.
Preparing for the Drilling Process
When it comes to gardening or home decoration, ceramic pots are a popular choice due to their durability and stylish designs.
Sometimes you may need to drill a hole in a ceramic pot to allow for proper drainage or to insert a plant hanger.
While it may seem daunting at first, drilling a hole in a ceramic pot is a simple process that can be done with the right tools and techniques.
Gathering the required tools and materials
To successfully drill a hole in a ceramic pot, it’s important to gather the necessary tools and materials beforehand.
These typically include a ceramic pot, a drill, a ceramic or diamond drill bit, masking tape, water, and safety gear such as gloves and goggles.
It’s important to ensure that the drill bit is appropriate for ceramic materials to avoid cracking or damaging the pot.
Taking the time to gather all necessary tools and materials can help make the drilling process much smoother and increase the chances of achieving a successful outcome.
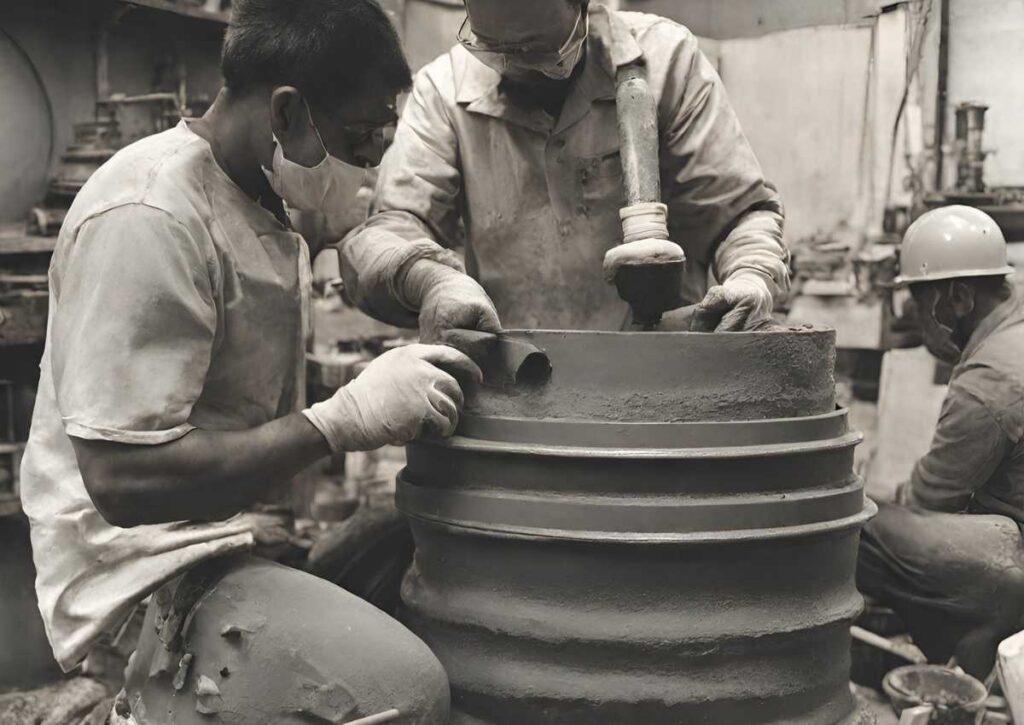
Safety precautions and protective gear
When drilling a hole in a ceramic pot, it is important to take safety precautions and wear protective gear to avoid injuries.
This includes wearing eye protection, gloves, and a dust mask to protect against flying debris and inhaling harmful dust particles.
It is also important to ensure that the drill bit is secure and stable before starting the drilling process to prevent the pot from slipping or shattering.
By taking these safety measures, you can safely and effectively drill a hole in a ceramic pot without causing harm to yourself or the pot.
Setting up a stable and comfortable workspace
To drill a hole in a ceramic pot, it is important to set up a stable and comfortable workspace.
This means choosing a flat surface to work on and securing the pot with a clamp or a rubber mat to prevent it from moving during the drilling process.
The workspace should also be well-ventilated to avoid inhaling dust and debris from the drilling.
Taking the time to properly set up your workspace will ensure a safe and successful drilling process.
Step by Step: Drilling a Hole in a Ceramic Pot
Ceramic pots are a beautiful and popular choice for planting indoor and outdoor plants.
Some ceramic pots do not come with drainage holes already drilled, which can be bad for your plants’ health.
If you find yourself with a ceramic pot without a drainage hole, don’t worry! With a few simple tools and some careful steps,
You can easily drill a hole in your ceramic pot and ensure your plant’s health.
We’ll take you through the step-by-step process of drilling a hole in a ceramic pot, so you can enjoy your plants without worrying about drainage issues.
Marking the drilling location
When marking the drilling location on a ceramic pot, it’s essential to ensure that the mark is accurate and in the right spot.
One way to do this is by using masking tape to mark the spot, ensuring it’s level and straight. Alternatively, a water-soluble marker or pencil can be used to mark the drilling spot.
It’s crucial to avoid using permanent markers, as they may not come off the pot’s surface easily.
You may consider using a template or stencil to ensure that the drilling location is in the right spot.
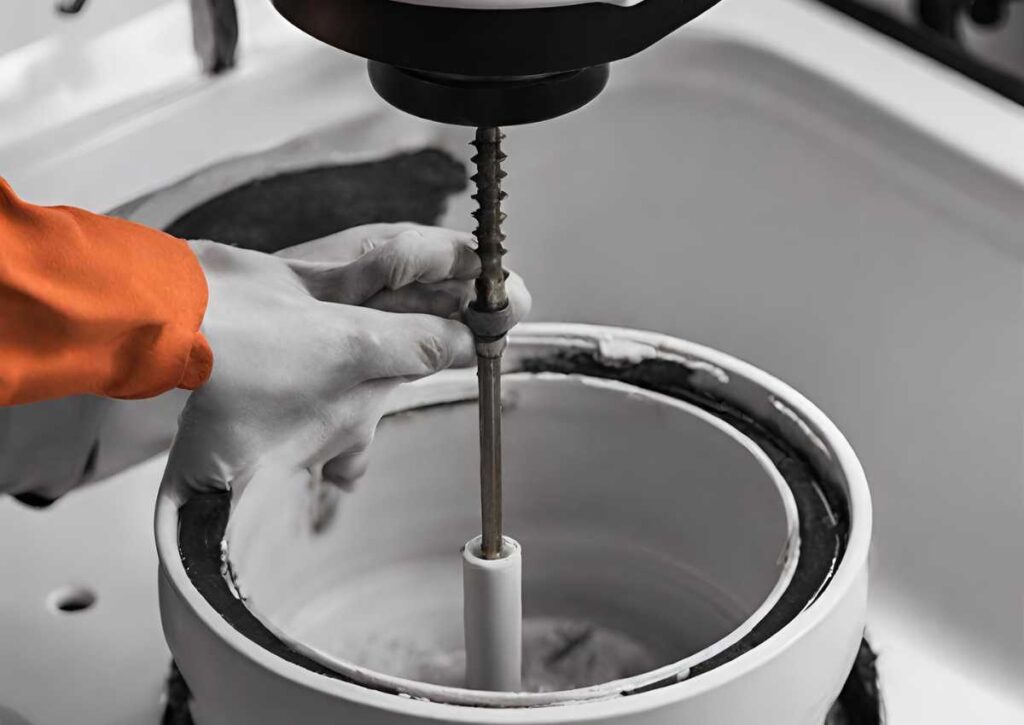
Securing the ceramic pot
When drilling a hole in a ceramic pot, it’s important to ensure that the pot is secured in place before starting.
This can be done by using a clamp or vise to hold the pot firmly or by placing it on a stable surface such as a workbench or table.
By securing the pot, you can prevent it from slipping or moving during the drilling process, which could result in damage to the pot or injury to yourself.
Choosing the right drill bit for ceramic material
When drilling a hole in a ceramic pot, it is essential to choose the right drill bit for the job.
If you use the wrong drill bit on ceramic, it can crack or break because ceramic is hard and brittle.
To drill a hole in a ceramic pot successfully, it is recommended to use a diamond-tipped drill bit or a carbide-tipped masonry bit.
These types of drill bits are specifically designed for use on hard materials and will help prevent the ceramic from cracking or breaking during the drilling process.
It is also important to use a slow drill speed and apply steady, even pressure to the pot while drilling to avoid putting too much stress on the ceramic.
Applying water or lubrication during drilling
To prevent cracking or damaging the ceramic pot while drilling a hole, it’s crucial to apply water or lubrication during the process.
These substances will help cool down the material and reduce the friction between the drill bit and the ceramic surface.
You can use water or a lubricant like petroleum jelly or beeswax to lubricate the drill bit and the ceramic surface.
Make sure to apply them evenly and continuously during the drilling process to ensure a clean and smooth hole.
Starting with a slow and steady drilling process
When drilling a hole in a ceramic pot, it’s important to start with a slow and steady process.
This involves using a low-speed setting on your drill and applying steady, even pressure to the pot.
This will help prevent the pot from cracking or shattering and ensure that the hole is clean and precise.
It’s also important to use the correct type of drill bit, such as a diamond-tipped bit designed for ceramic materials.
By taking your time and using the right tools and techniques, you can successfully drill a hole in your ceramic pot without damaging it.
Gradually increasing the pressure and speed
When drilling a hole in a ceramic pot, it’s important to gradually increase the pressure and speed of the drill.
This helps to prevent the pot from cracking or shattering. By starting with a low speed and gradually increasing it.
You can apply the necessary pressure without putting too much stress on the ceramic.
It’s also important to use a diamond-tipped drill bit designed for drilling through ceramics, as this will help to prevent the pot from cracking.
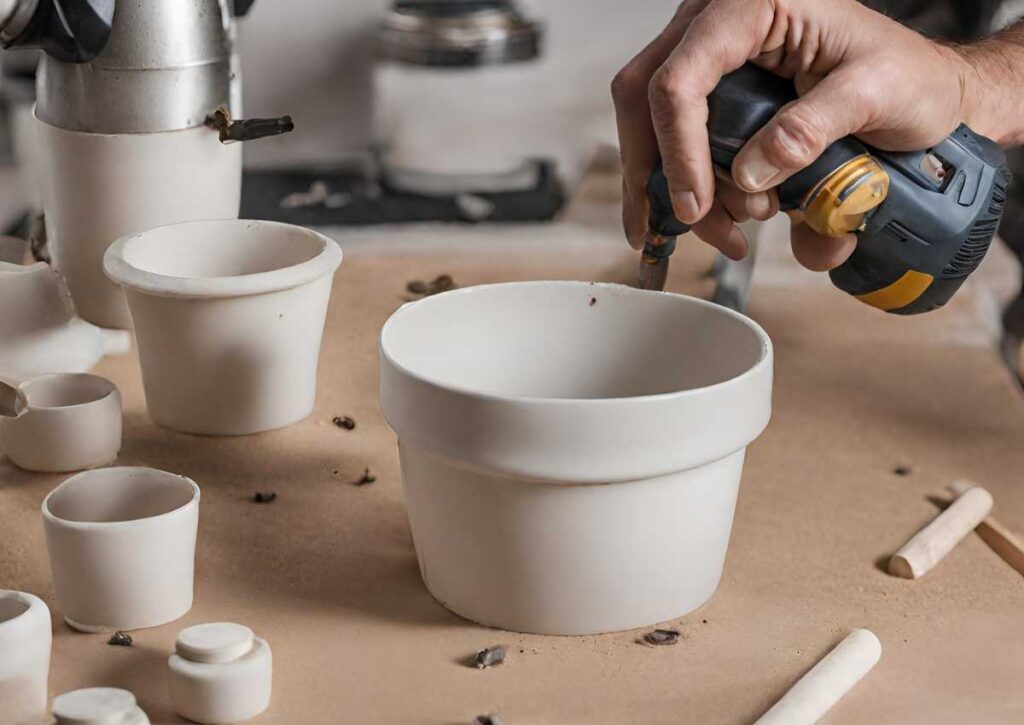
Finishing and cleaning the drilled hole
After successfully drilling a hole in a ceramic pot, the next step is to finish and clean the hole.
This involves removing any rough edges or burrs left from drilling, as well as washing away any debris or dust that may have accumulated in the hole or on the surface of the pot.
A sandpaper or a diamond-tipped grinding tool can be used to smooth out the edges of the hole.
It is also important to make sure that the pot is completely dry before filling it with soil or water, as any moisture left in the pot can cause the ceramic to crack or break.
Troubleshooting Common Issues
It might look easy to drill a hole in a clay pot, but things can quickly get frustrating when they don’t go as planned.
Sometimes simple problems, like cracks or chips, can ruin your pretty clay pot and make you sad.
But with a few simple troubleshooting steps, you can easily fix these problems and drill a hole in your clay pot without any problems.
Cracked or damaged ceramic pot
When drilling a hole in a ceramic pot, it is important to be careful and avoid cracking or damaging the pot.
If the pot is already cracked or damaged, it may be more difficult to drill a hole without causing further damage.
In such cases, it may be best to use a different pot or try to repair the damage before attempting to drill a hole.
It is important to choose the right drill bit and use the proper drilling technique to minimize the risk of cracking or damaging the pot.
Uneven or rough hole edges
It addresses the issue of uneven or rough edges that can occur when drilling a hole in a ceramic pot.
It suggests that using the incorrect drill bit or exerting too much pressure while drilling could be the cause of this issue.
To avoid this issue, it recommends using a diamond-tipped drill bit and applying consistent and gentle pressure while drilling.
Additionally, sanding the edges of the hole after drilling can help to smooth out any roughness.
Drilling at an angle or misaligned hole
When drilling a hole in a ceramic pot, it is important to be careful to avoid drilling at an angle or creating a misaligned hole.
Doing so can result in a damaged pot and a hole that does not serve its intended purpose.
To prevent this, make sure to mark the spot where you want to drill and use a guide to keep your drill bit straight.
Slow and steady pressure will also help ensure a clean and straight hole.
If you do end up with an angled or misaligned hole, you may be able to fix it by enlarging the hole slightly or filling it with a sealant.
Additional Tips for a Successful Project
Congratulations! You’ve successfully drilled a hole in your ceramic pot.
But before you start using it, there are a few additional tips you should keep in mind to ensure that your project is truly successful.
We’ll provide you with some helpful tips to help you get the most out of your newly drilled ceramic pot.
From selecting the right type of drill bit to properly sealing the hole, these tips will help you make sure that your pot is ready for whatever you have planned for it.
So, without further ado, let’s dive into some additional tips for a successful ceramic pot drilling project!
Choosing the right plant for your pot
Choosing the right plant for your ceramic pot is important to ensure its longevity and the plant’s health. Consider the size of the pot and the plant’s growth habit.
Select a plant that is suitable for the pot’s size and has the potential to grow to its full potential.
Also, consider the plant’s sunlight and water requirements, and make sure they match the pot’s location and drainage capabilities.
By choosing the right plant, you can enjoy a beautiful and thriving addition to your home decor.
Ensuring proper drainage and potting mix
The key to ensuring a successful project when drilling a hole in a ceramic pot is to make sure it has proper drainage and the right potting mix.
This will allow water to drain properly, preventing the soil from becoming waterlogged and potentially harming the plant.
To achieve this, consider using a high-quality potting mix specifically designed for the type of plant you are potting, and be sure to drill the hole at the bottom of the pot to allow for adequate drainage.
Caring for your ceramic pot after drilling
After drilling a hole in your ceramic pot, it’s important to take proper care of it to ensure its longevity.
One important step is to clean the pot thoroughly to remove any debris or dust that may have accumulated during the drilling process.
You can use a soft cloth and warm, soapy water to clean both the inside and outside of the pot.
It’s also a good idea to sand the edges of the hole to smooth out any rough edges and prevent the pot from chipping or cracking over time.
You can use fine-grit sandpaper or a sanding sponge to do this.
After cleaning and sanding, allow the pot to dry completely before planting anything in it.
When you do plant, be sure to use a well-draining soil mix to prevent water from sitting in the pot and potentially causing damage.
Conclusion
Congratulations! You have successfully drilled a hole in your ceramic pot.
By following the steps outlined, you have learned how to safely and effectively drill a hole in your ceramic pot without causing damage to the pot or injuring yourself.
To recap, you will need to gather the appropriate tools, including a drill bit designed for ceramic, and take the necessary safety precautions, such as wearing protective eyewear and gloves.
It’s also important to mark the spot where you want to drill and use a steady hand when drilling.
Overall, drilling a hole in a ceramic pot can seem like a daunting task, but with the right tools and techniques, it can be easily accomplished by DIY enthusiasts
Related post: How To Drill Into Brick In 6 Easy Steps
FAQs
How Deep Should I Drill a Hole in a Ceramic Pot?
When drilling a hole in a ceramic pot for drainage, aim for a depth of about 1/4 to 1/2 inch.
This allows adequate drainage without compromising the pot’s structural integrity. Avoid drilling too close to the pot’s edges to prevent potential cracking.
Can you drill a ceramic pot with a regular drill bit?
While it’s technically possible to drill a ceramic pot with a regular drill bit, it’s not recommended.
Ceramic is very hard and fragile, and if you don’t drill it right, it can easily break or crack.
It’s more likely that regular drill bits will hurt ceramic because they aren’t made to handle the stress of drilling it.
It’s best to use a diamond-tip bit designed specifically for drilling ceramic to ensure a successful outcome.
What is the best drill bit for a ceramic pot?
The best drill bit for a ceramic pot is a diamond-tip bit.
Diamond-tip bits are specifically designed to handle the hardness and brittleness of ceramic, making them the ideal choice for drilling holes in ceramic pots.
These bits have a diamond coating that provides extra strength and durability, allowing them to make clean, precise holes without cracking or shattering the ceramic.
It’s important to use a high-quality diamond-tip bit and to follow the proper drilling techniques to achieve the best results.
Do you need a special drill bit for ceramic?
You need a special drill bit for ceramic. Ordinary drill bits may not be able to drill through it without cracking or chipping the ceramic.
Ceramic is a very hard and brittle material, so it requires a drill bit that is specifically designed to handle its hardness and prevent damage.
Carbide-tipped masonry bits are recommended for drilling through ceramic tiles or pottery.
These bits have a hard and durable tip that can withstand the hardness of ceramic materials, and they are designed to create clean and precise holes without damaging the surrounding material.
To ensure success when drilling through ceramic, it’s important to use the correct technique, including a slow speed and light pressure, and keeping the drill bit cool with water.


