

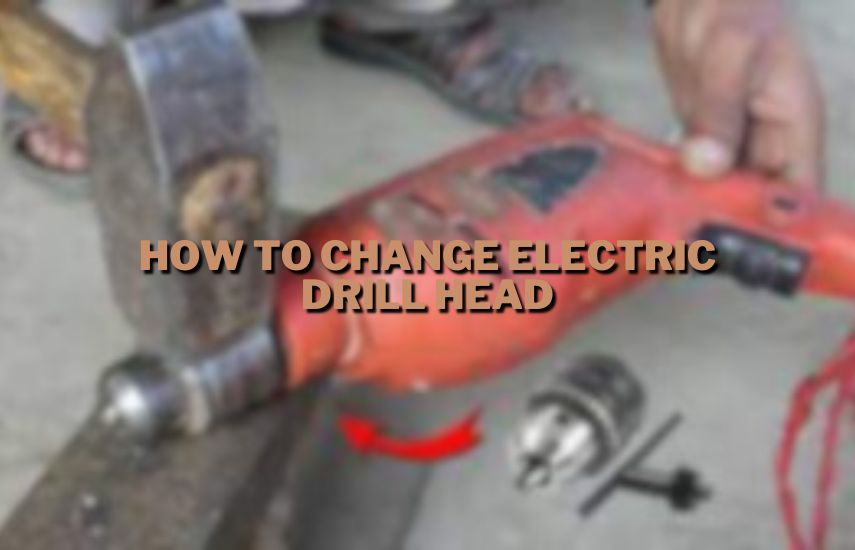
Welcome to a simple guide on how to change the head of your electric drill. If you’re looking to switch out the tool head for a different task, you’re in the right place. Swapping the head of your electric drill is a straightforward process that can enhance your drilling experience.
How To Change Electric Drill Head? To change the head of an electric drill, first, power it off and unplug. Find the chuck holding the bit. Insert the chuck key, turn to loosen, and remove the old bit. Insert the new bit, align it, and use the chuck key to tighten. Plug in and test before use. Always prioritize safety.
Whether you’re a DIY enthusiast or a beginner, this guide will walk you through the steps to successfully change the drill head without any hassle. By the end of this blog, you’ll be equipped with the knowledge to confidently switch drill heads and tackle various projects with ease. Let’s dive into the easy-to-follow instructions and get your drill ready for action.
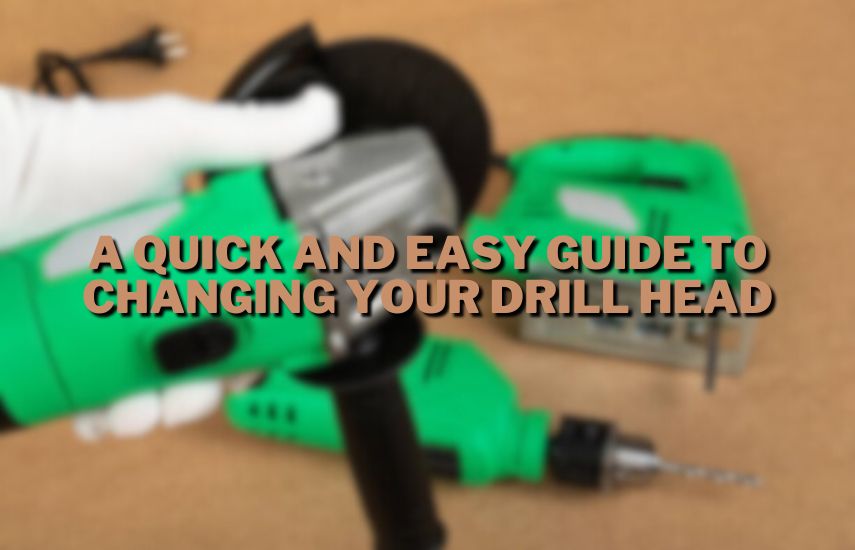
A Quick and Easy Guide to Changing Your Drill Head
Greetings, fellow DIY enthusiast! If you’re looking to change your drill head but feeling a tad uncertain, worry not. We’ve got your back with this step-by-step guide that’ll have you swapping out drill bits like a seasoned pro in no time.
Gathering the Necessary Tools and Materials
The initial step in this process involves assembling all the tools and materials essential for a seamless drill head changeover. Prepare your electric drill, procure the replacement drill head that suits your project’s requirements, and if your drill necessitates it, ensure you have a chuck key or wrench at the ready. Having these items organized and within reach will streamline the entire process.
Disconnection and Power Down
Safety is paramount in any DIY task, and changing a drill head is no exception. Begin by disconnecting your drill from its power source and making sure it’s completely powered down.
This fundamental precaution minimizes the risk of unintended activation during the head changeover, ensuring that you can work on the task without any concerns for your safety.
Loosening Techniques
The process of removing the existing drill head entails specific techniques depending on the type of chuck your drill employs. For drills with chuck keys, insert the key into the chuck and rotate it counterclockwise to gently release and remove the old drill bit.
On the other hand, if your drill features a keyless chuck, you can effortlessly loosen the chuck by rotating it manually in a counterclockwise direction. Upon successful loosening, carefully extract the old drill bit from the chuck and set it aside.
Proper Alignment and Attachment
Introducing the new drill head is a crucial phase that requires precise alignment and secure attachment. Carefully align the replacement head with the chuck, ensuring that it slots in evenly and correctly.
Gradually and firmly push the new head into the chuck until it sits snugly in place. Depending on your drill’s design, utilize the appropriate method to secure the head – either utilize the chuck key to turn the chuck clockwise for chucks with keys, or manually twist the chuck for those equipped with keyless chucks.
Ensuring a Secure Fit
Before embarking on your project, it’s prudent to carry out a brief test to confirm that the new drill head has been successfully attached. Power on the drill momentarily to check if the head is secured and functioning as intended.
If you notice any wobbling or instability, revisit the attachment process to ensure a stable and secure fit. This extra step guarantees that your drill is ready to tackle your project with precision and efficiency, powered by the new head.
Conclusion (How To Change Electric Drill Head)
As we wrap up our guide on changing the electric drill head, you’re now armed with the knowledge to effortlessly transform your tool into a versatile powerhouse. Think of it like changing the hat on your favorite action figure – each head brings new skills to the table. Safety remains your trusty sidekick, so make sure the drill is unplugged before this heady adventure.
Imagine your drill as a superhero, donning different costumes for different missions. One minute, it’s a wood warrior crafting shelves, and the next, it’s a metal maestro hanging frames. This metamorphosis is your ticket to becoming a project conqueror.
With each head change, you’re not just altering a piece of metal; you’re altering your project’s destiny. This is where creativity meets mechanics, and your ideas take tangible form. It’s like wielding a magic wand that brings your DIY dreams to life.
Picture yourself as a craftsman, transforming your drill as a painter changes brushes. Your workbench is your canvas, and your drill is the brush that paints practicality onto your creations. The ability to adapt and switch heads is your artistic license, granting you the power to shape your projects in unique ways.
Useful Pointers
- Don’t worry if you lose your drill’s chuck key. Instead of replacing the whole drill, consider contacting a key cutting or tool shop to get a replacement chuck key.
- If a drill bit becomes stuck in a material or refuses to come out of the drill, you can use vice grips or pliers to carefully pull the bit out physically.
- These guidelines are relevant for a wide range of popular drill brands, including Ryobi, Milwaukee, DeWalt, and Black and Decker.
Frequently Asked Questions
How do I change the head on my drill?
Changing the head on your drill is a simple process that involves a few steps. First, ensure the drill is turned off and unplugged for safety. If your drill has a chuck key, insert it and turn it counterclockwise to loosen the old head. If it’s a keyless chuck, manually twist it counterclockwise.
Remove the old head gently. Align the new head with the chuck and insert it fully. If you have a chuck key, turn it clockwise to secure the new head; for keyless chucks, twist it manually. Test the new head by giving it a brief spin to make sure it’s attached properly.
How do you replace a bit in an electric drill?
Replacing a bit in an electric drill is straightforward. Start by turning off the drill and disconnecting it from the power source. If your drill uses a chuck key, insert the key and turn it counterclockwise to loosen the old bit. For keyless chucks, twist the chuck counterclockwise by hand.
Once the old bit is loose, gently pull it out. Align the new bit with the chuck and insert it fully. Use the chuck key to tighten the chuck by turning it clockwise for chucks with keys, or twist the chuck by hand for keyless chucks. Test the new bit by turning the drill on briefly to ensure it’s securely in place.
How do you unlock a drill head?
To unlock a drill head, you need to release the chuck that holds the drill bit in place. If your drill has a chuck key, insert the key into the chuck and turn it counterclockwise to loosen the chuck jaws, allowing the bit to be removed.
For drills with keyless chucks, simply twist the chuck counterclockwise by hand to unlock it. Once the chuck is unlocked, you can remove the old bit or head and replace it with a new one.
How do you put a screw head in a drill?
Putting a screw head in a drill is a crucial step for driving screws into various materials. Start by selecting the appropriate screw head for your task. Insert the chosen screw head into the drill’s chuck, making sure it fits securely.
If your drill has a keyless chuck, twist it clockwise by hand to tighten the chuck jaws around the screw head. For drills with chuck keys, insert the key and turn it clockwise to secure the screw head. With the screw head securely in place, your drill is ready for efficient screw driving.


